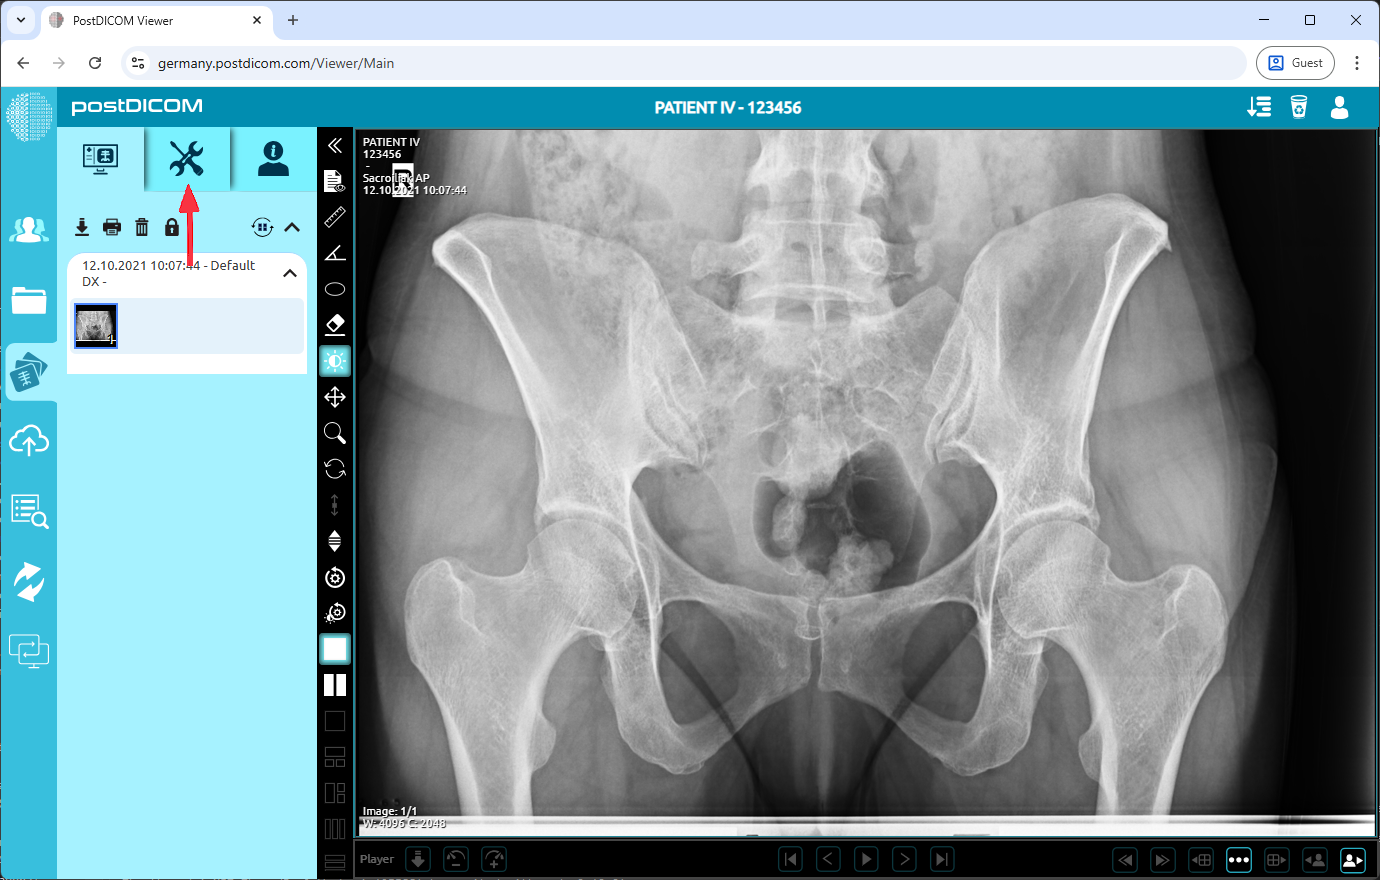
On the “Patient Search” page, all patient orders in your account will be shown. Double-click on the order you want to view the images. The “View” page will be opened. Click on the “Tools” icon on the upper left side of the page.
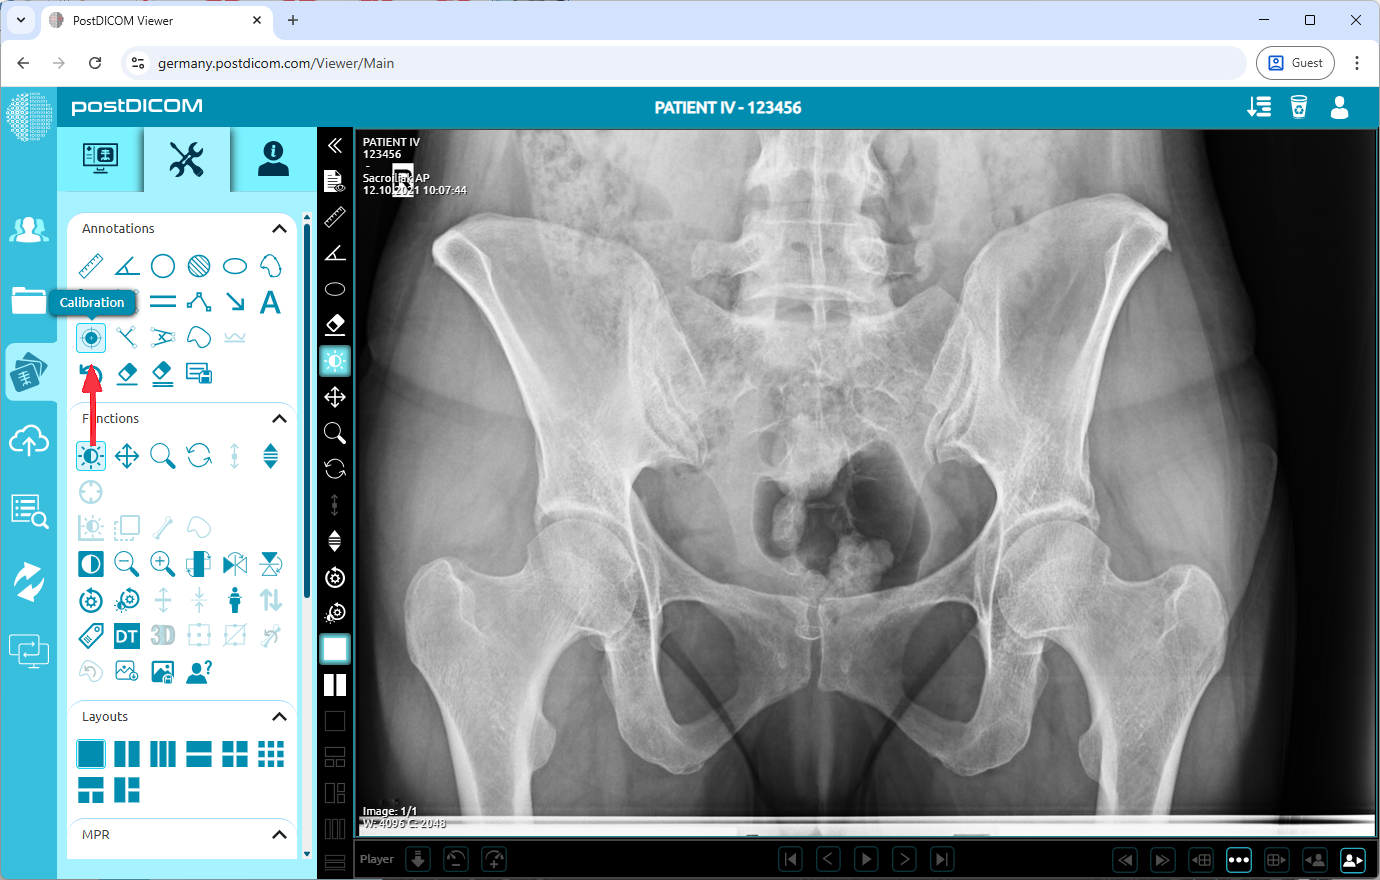
After you have clicked, the tools section will be displayed. In the “Annotations” field, click on the “Calibration” icon on the upper left side of the section.
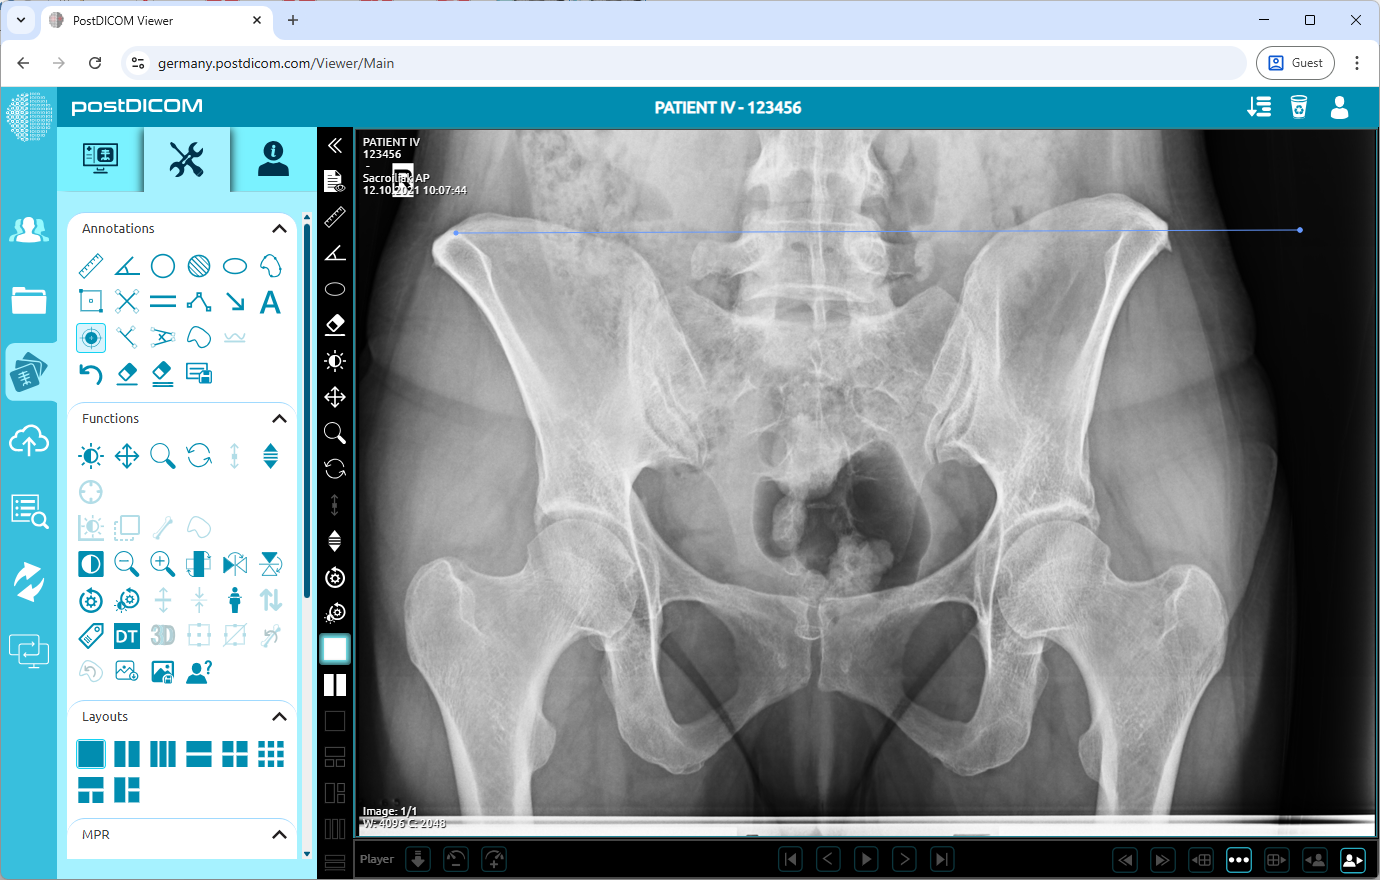
When you click on the icon, it will turn into blue color and a ruler sign will be shown at the bottom of your mouse pointer. Click on the starting point of the distance and move your mouse to the endpoint. Until you click, the distance will appear in blue. Click again to finish drawing the line.
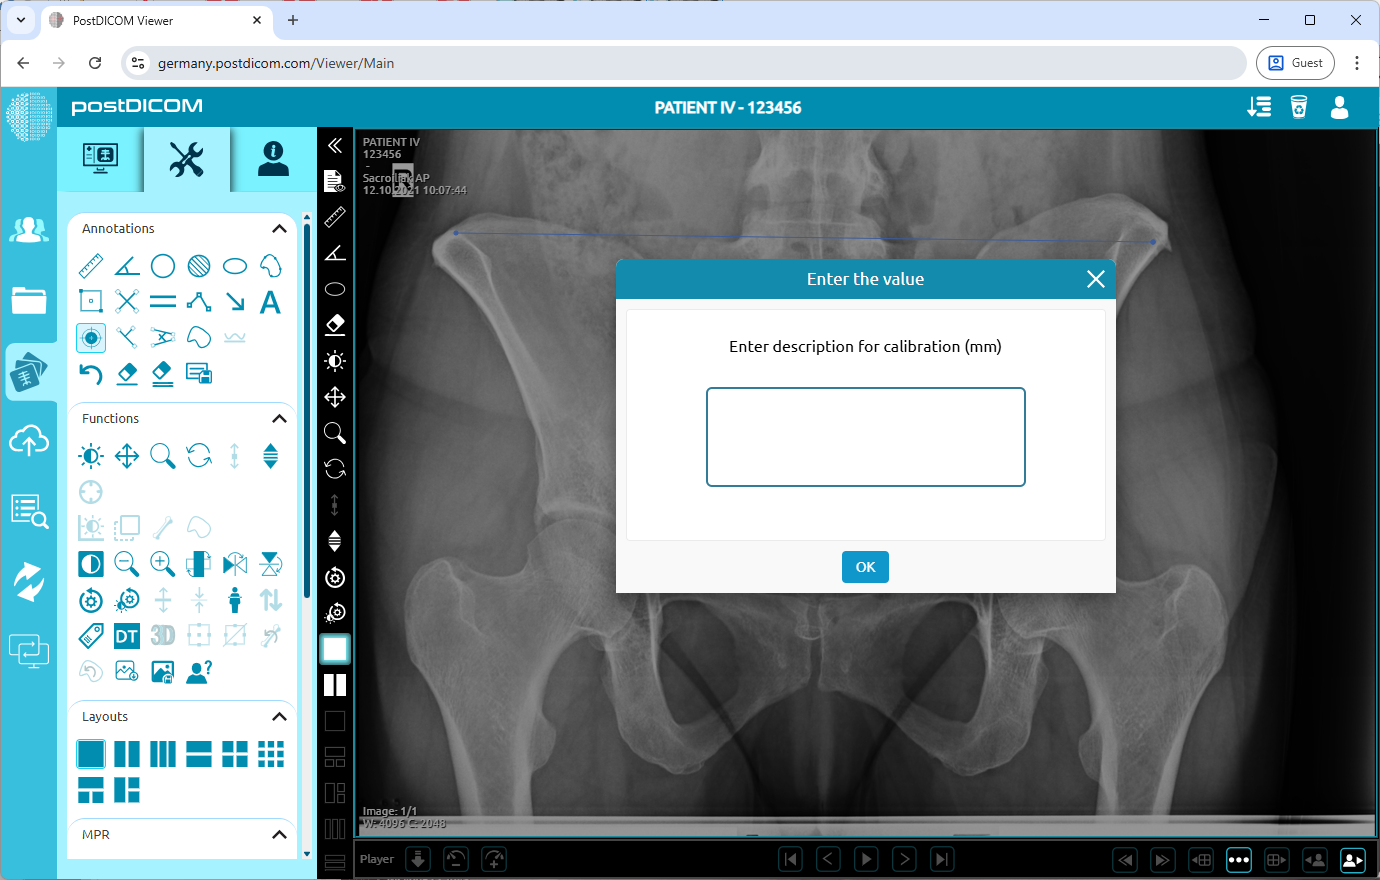
After drawing the line, a dialog box will appear. Enter the actual known size (in mm). Once calibration is set, Then all measurements you will do calculates with this calibration.