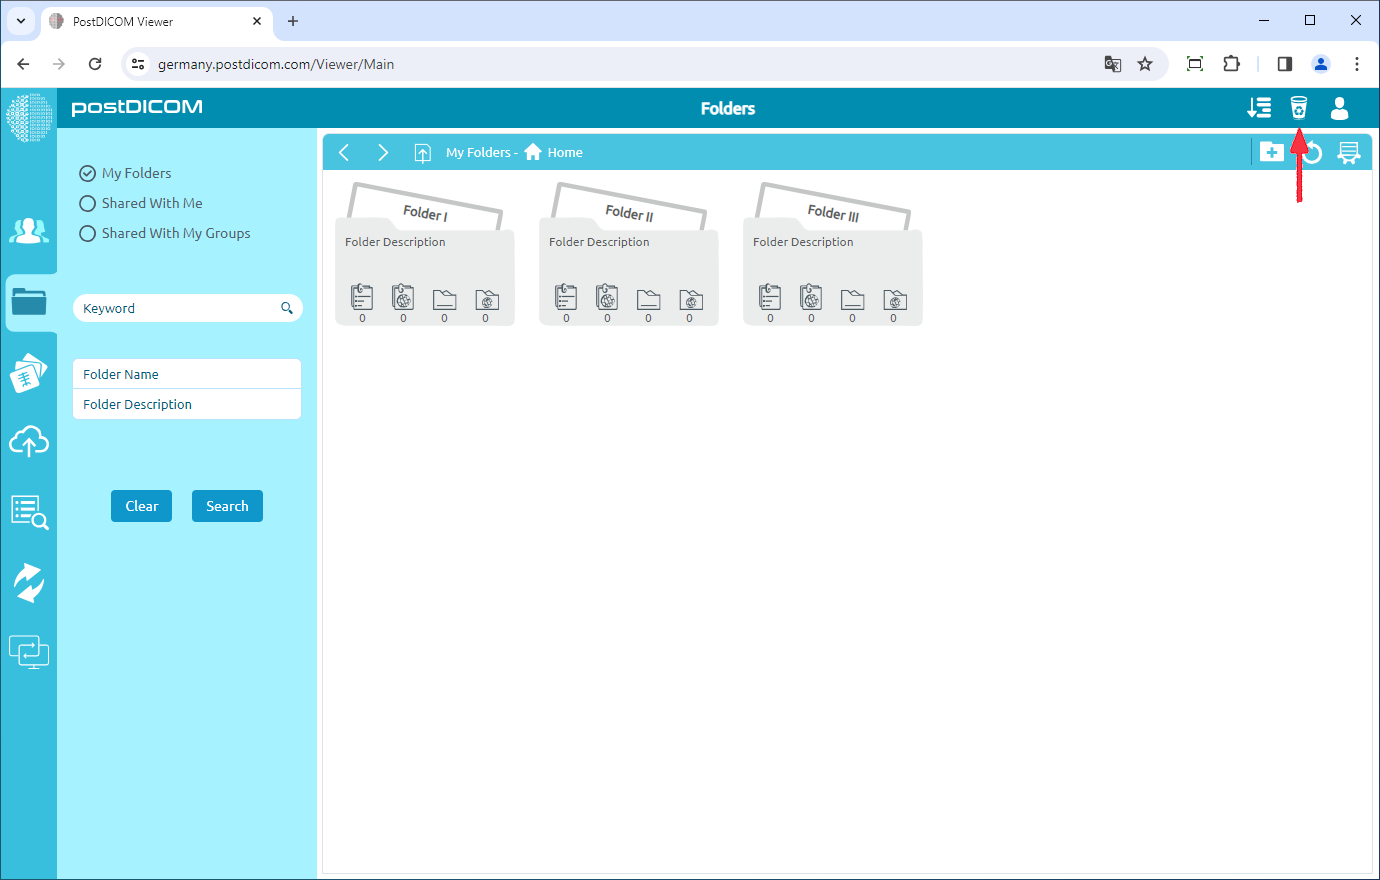
After moving your images and folders to the recycle bin according to the “Moving Folders to Recycle Bin” article, they will continue to appear in the recycle bin. Click on the “Recycle” icon on the upper right side of the page to view the images or folders in the recycle bin.
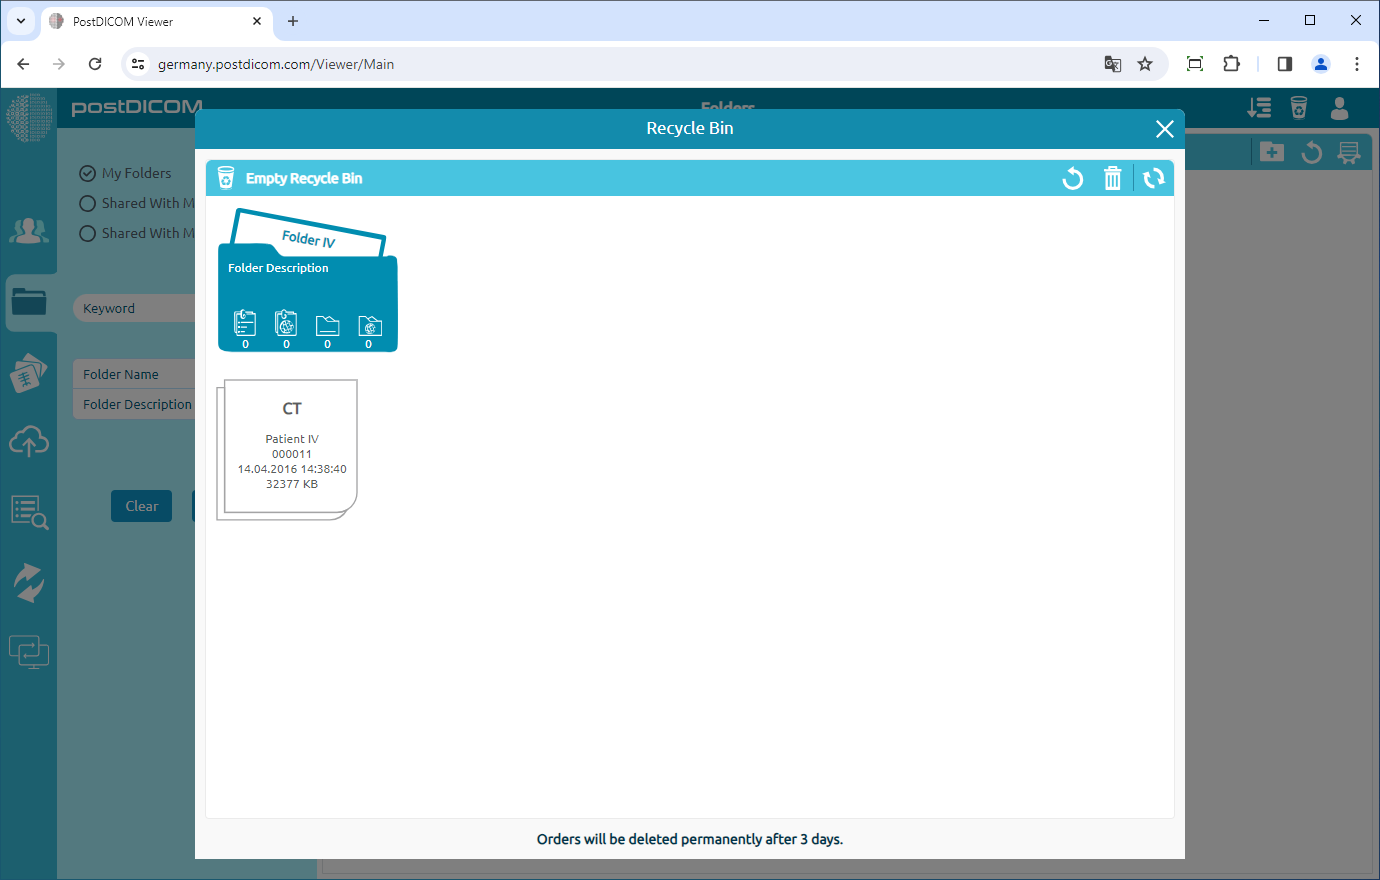
Once you have clicked on the icon, the recycle bin will be opened. You can see all images and documents that have been moved here before.
Click on the folder or image you want to delete permanently. After clicking, the selected folder will be displayed in blue color and if you click on it again it will be deselected. You can choose one or more folders.
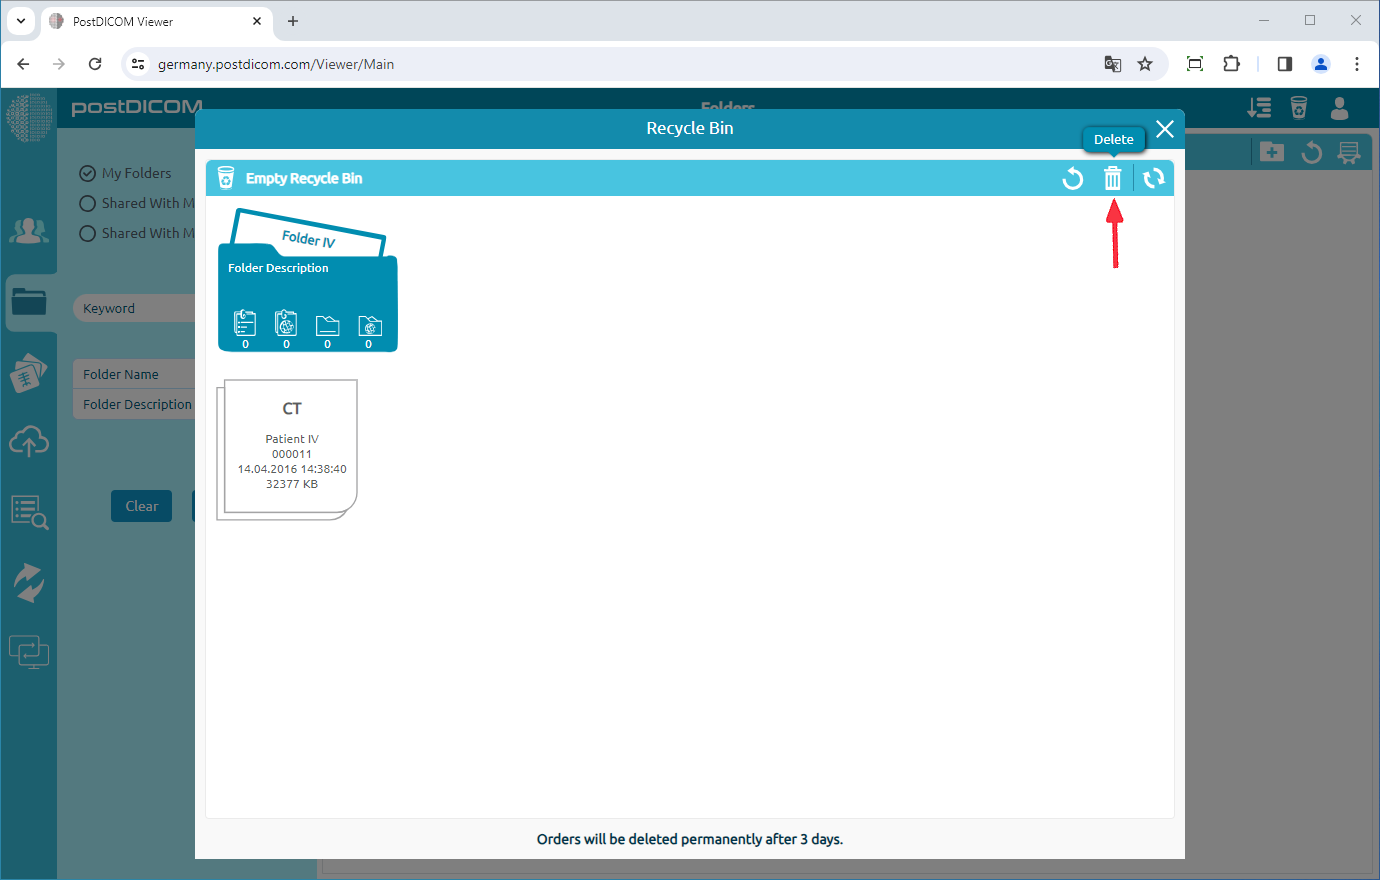
After selecting, click on the “Delete” icon on the upper right side of the form to delete the folder permanently.
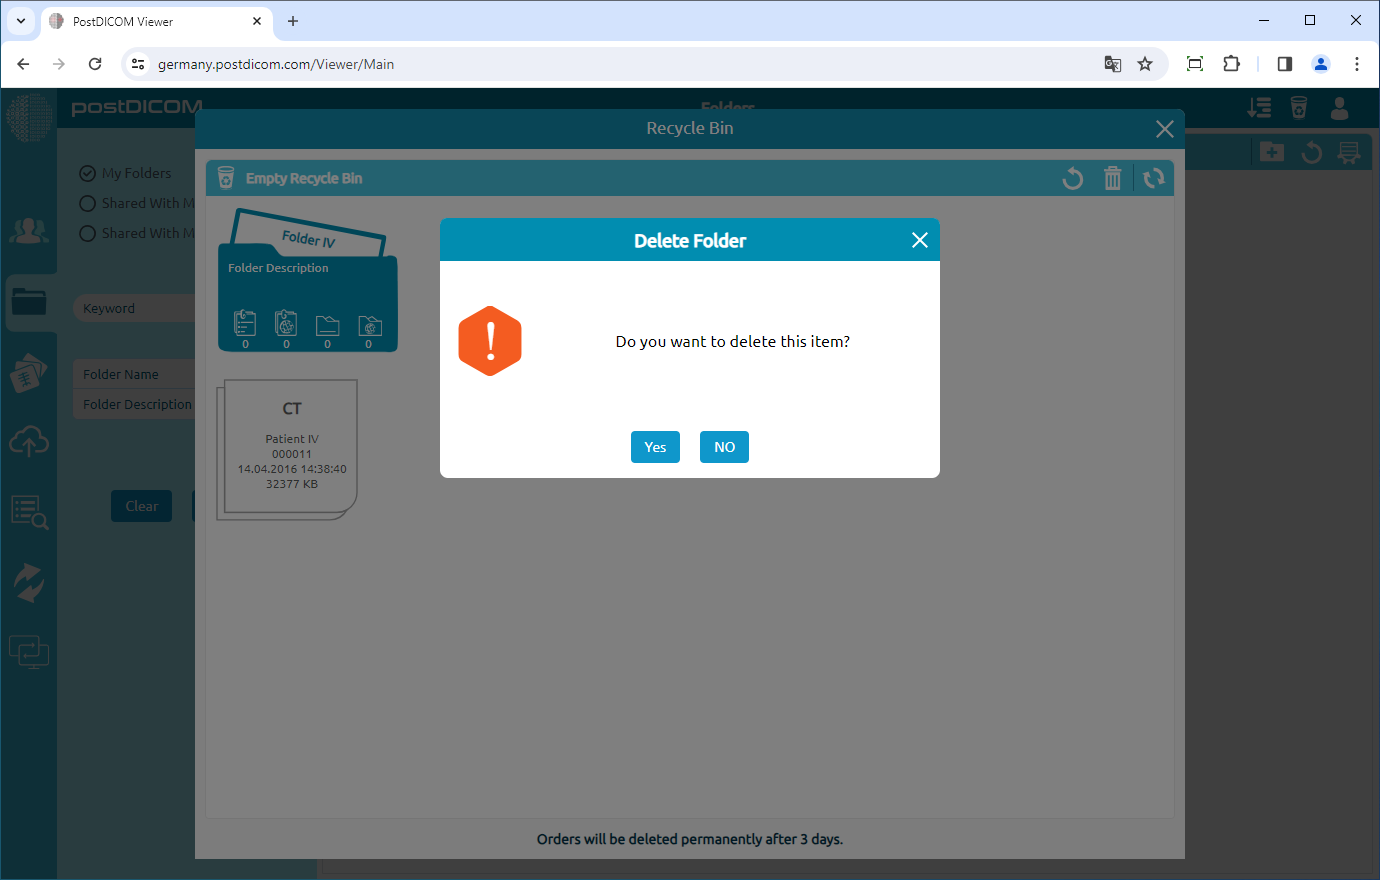
Once you have clicked on the icon, a Message Box will be shown to confirm you to delete the folder permanently. Click on “Yes” to confirm that you want to delete the folder permanently. If you don’t want to delete it, click on “No”.
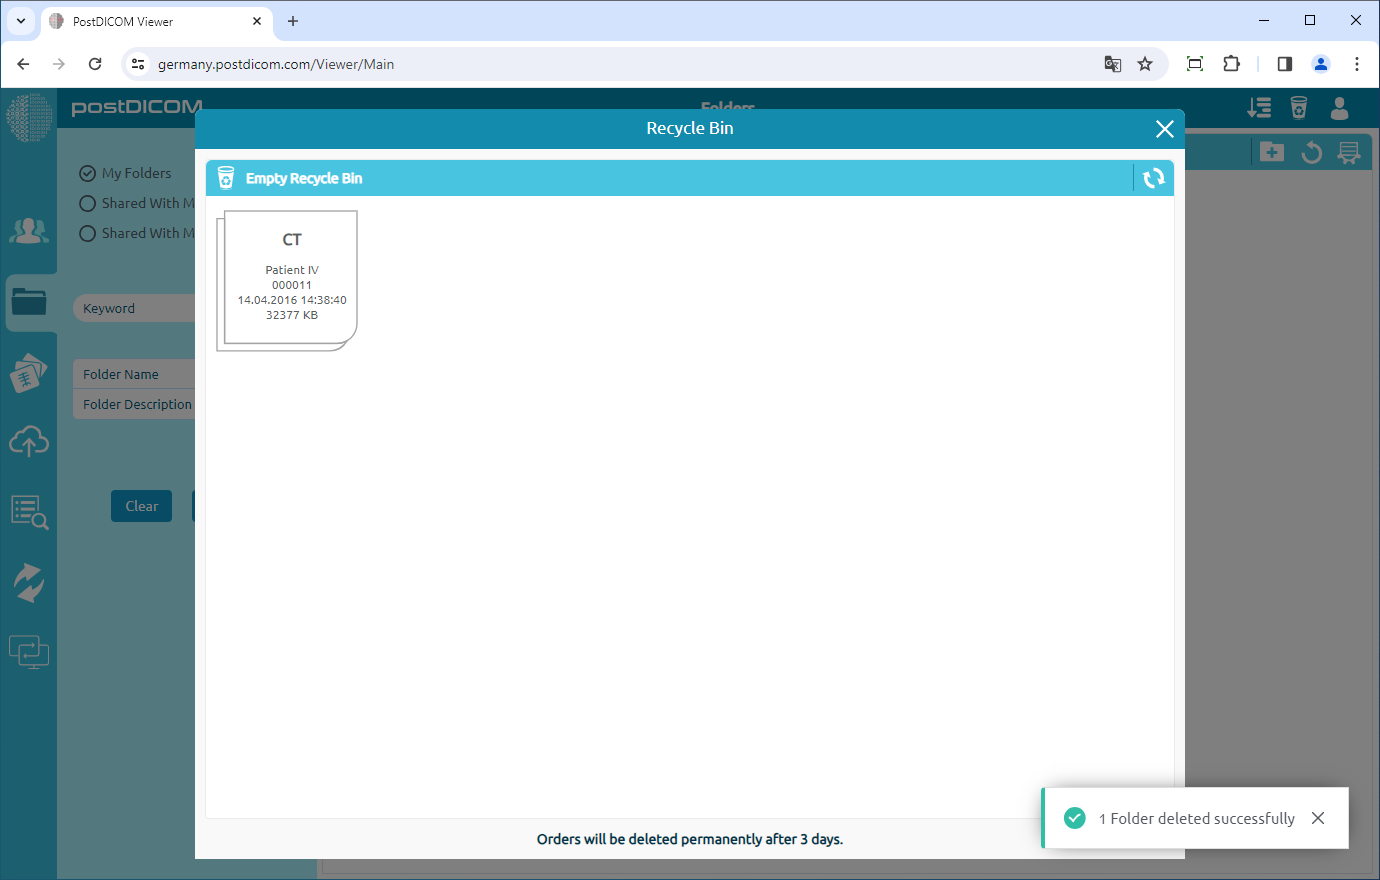
After clicking on “Yes”, the folder will be deleted permanently.
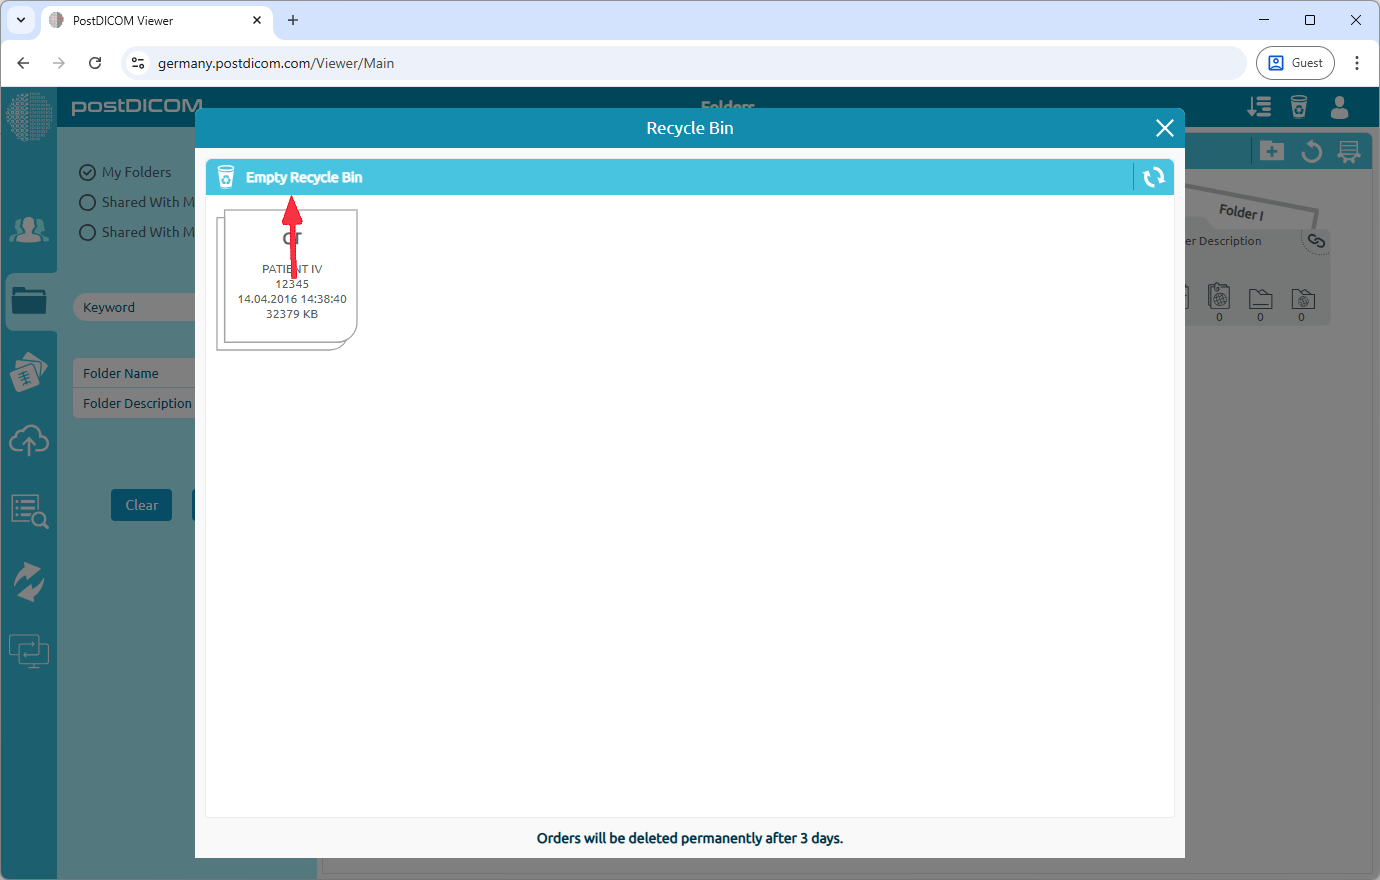
There is an Empty Recycle Bin button in the upper-left corner of the form. Clicking this button will empty the recycle bin. Please note that this action cannot be undone.