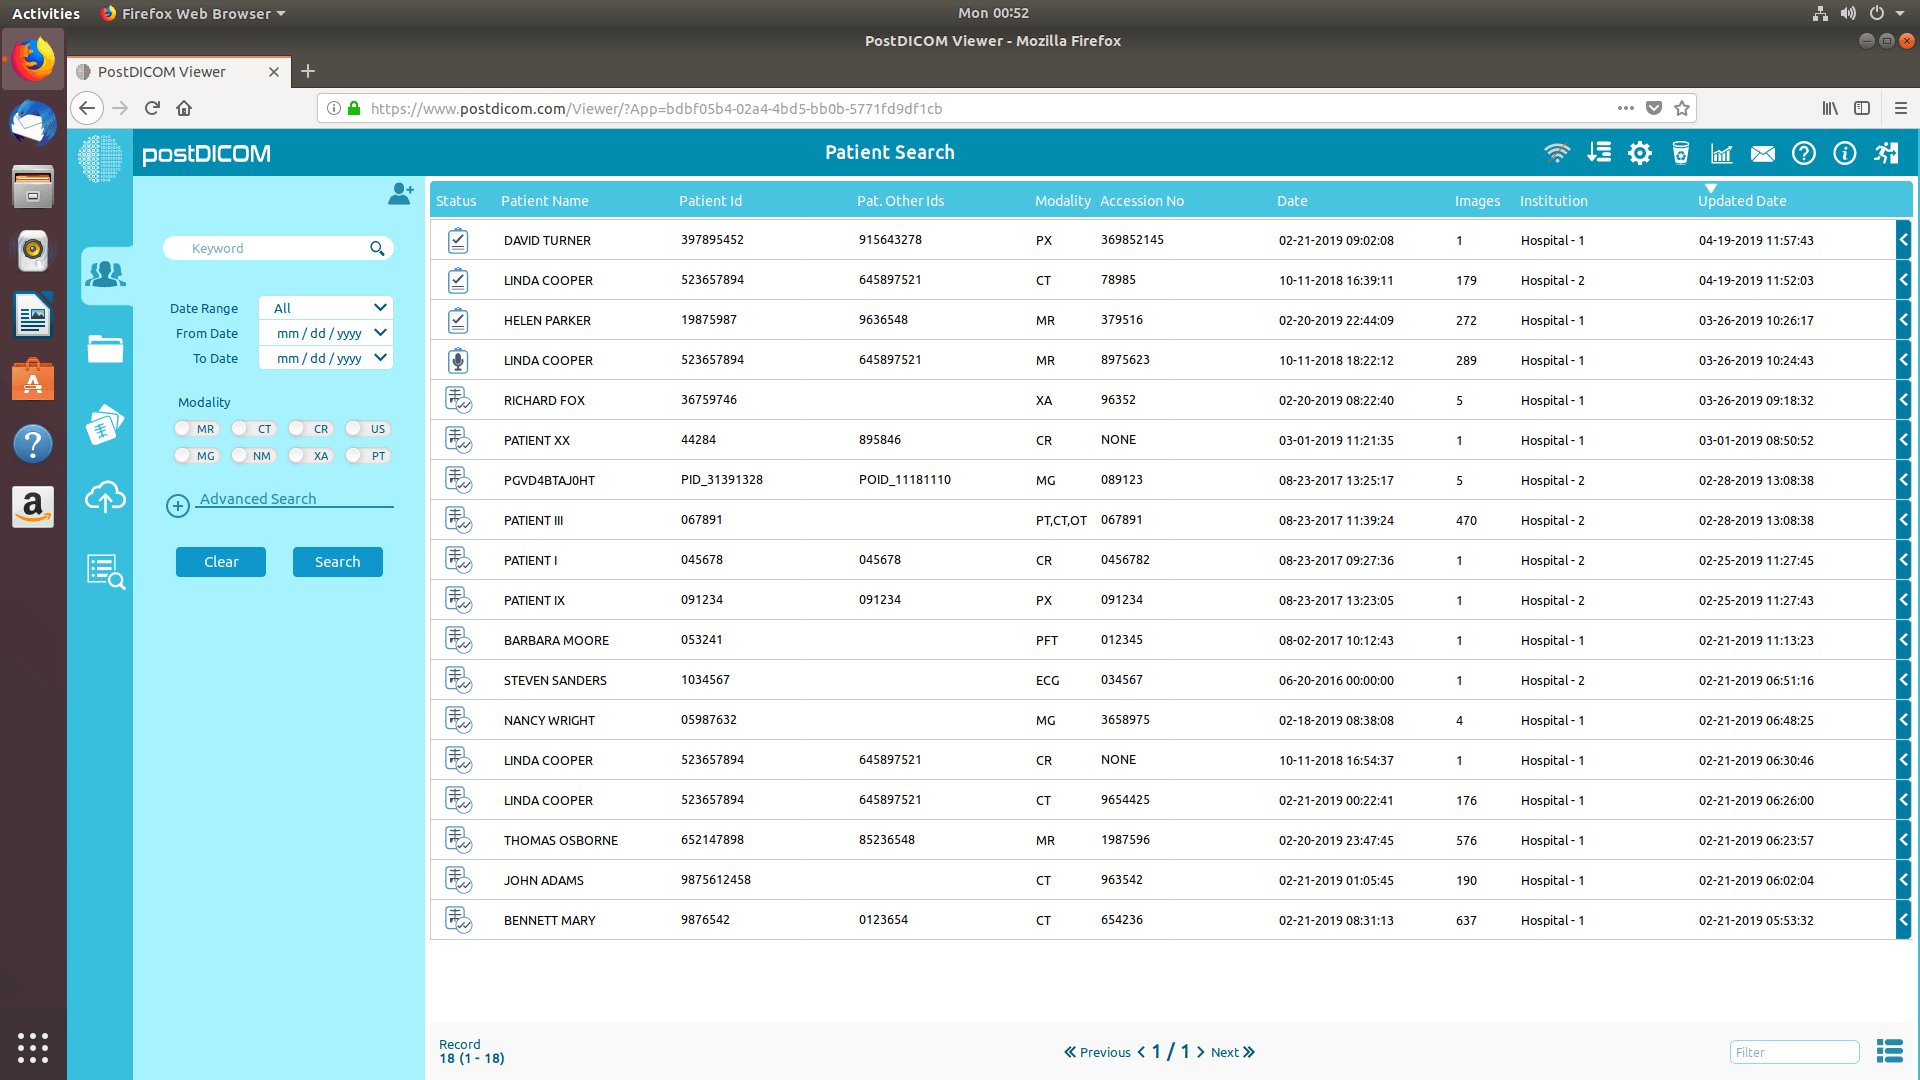
Log ind på din konto, og klik på ikonet "Indstillinger" øverst til højre på siden.
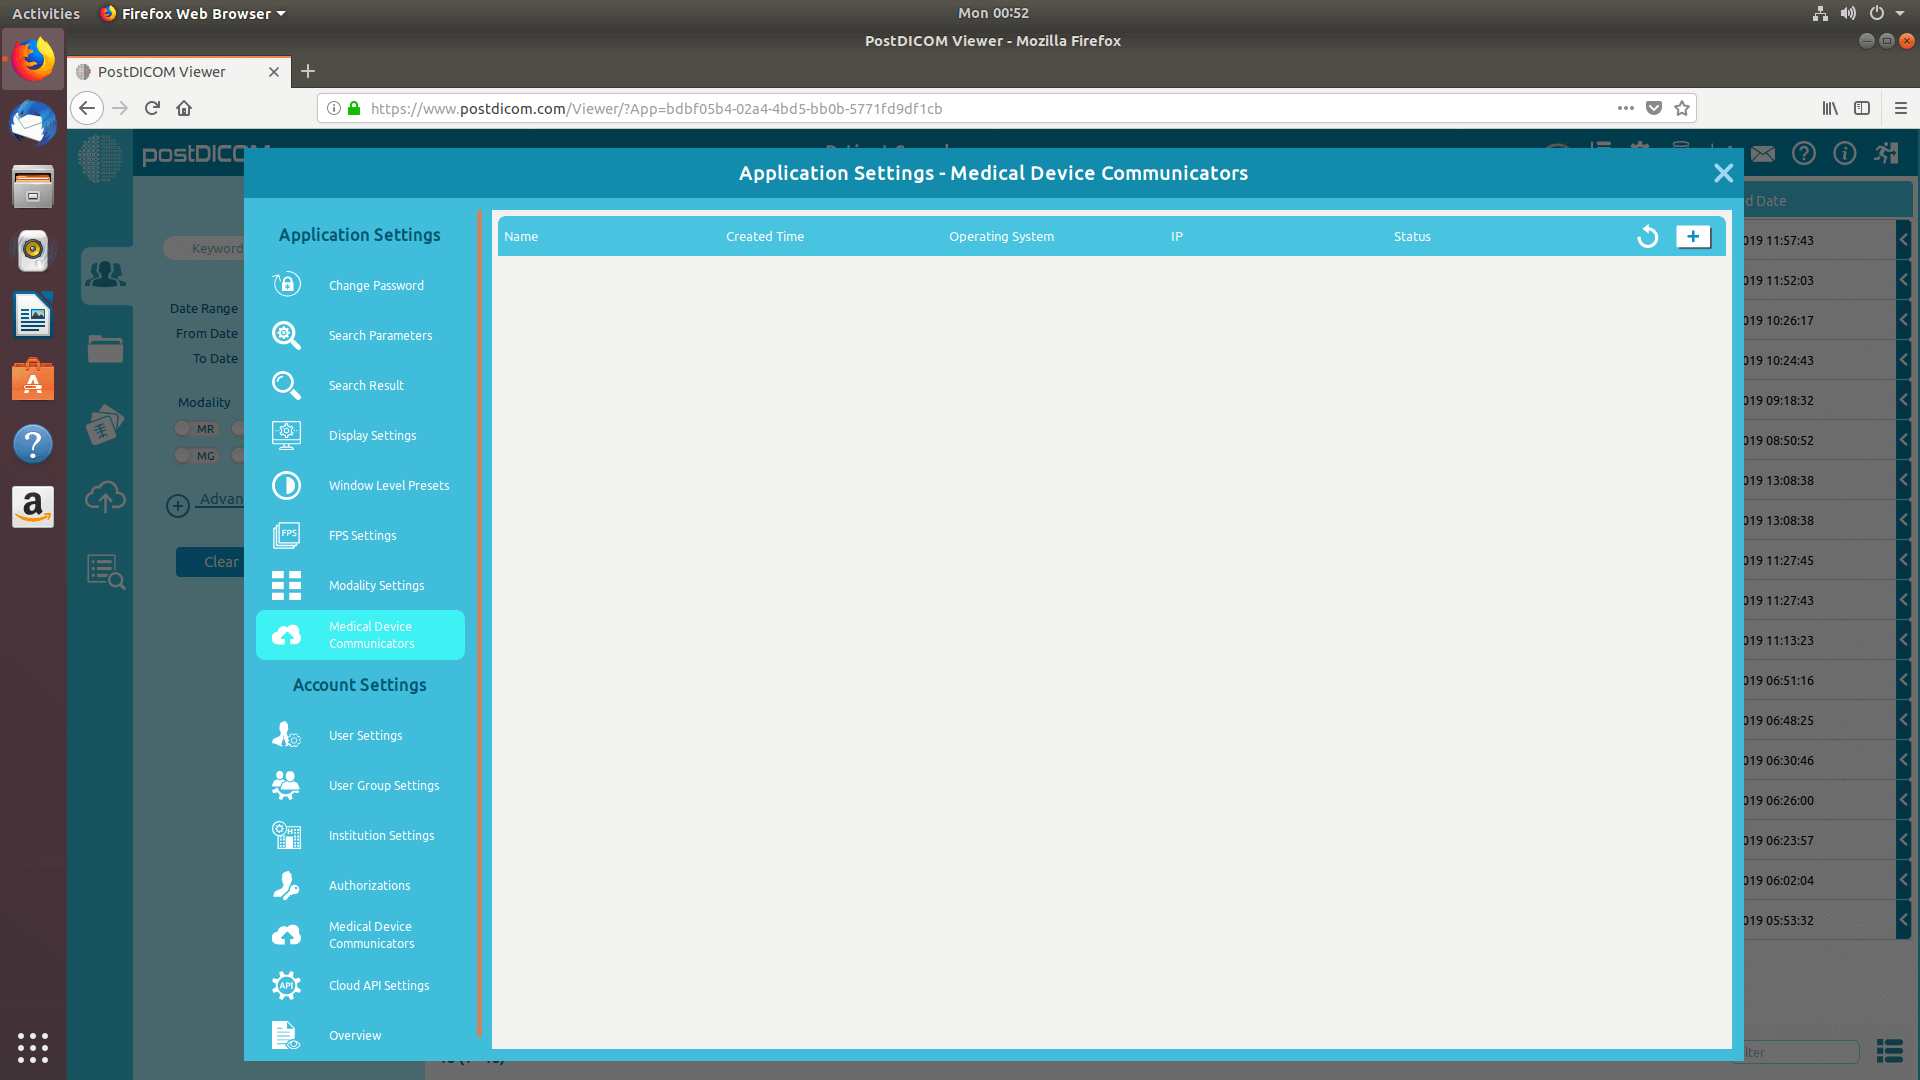
I sektionen for applikationsindstillinger skal du klikke på menupunktet "Medical Device Communicators" i venstre side af siden.
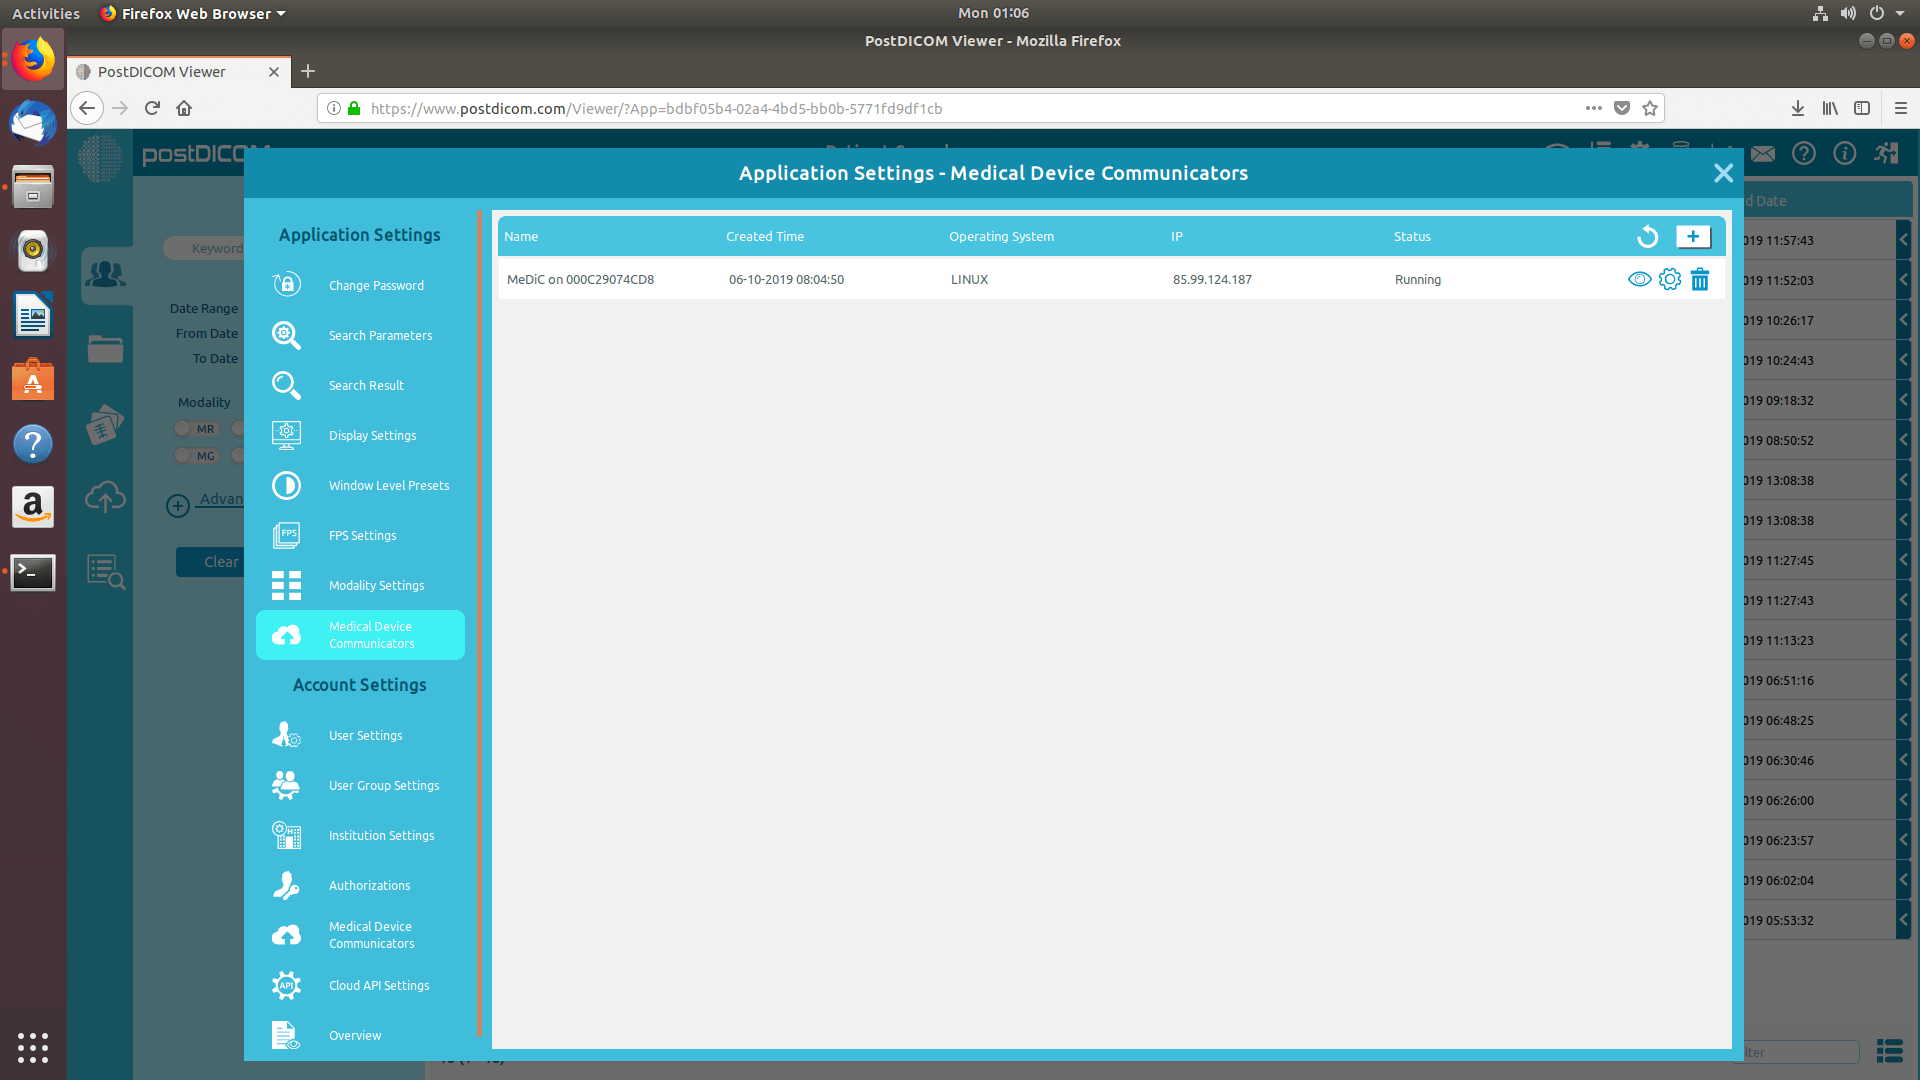
Den aktuelle brugers MeDiC-applikationer vises i højre side af siden. For hver MeDiC-applikation vises navn, oprettelsestidspunkt, operativsystem, IP og aktuel status. Hvis du ikke kan se din MeDiC-applikation, skal du klikke på knappen "Refresh" (Opdater) for at opdatere listen over MeDiC-applikationer.
For at tilføje en ny MeDiC skal du klikke på knappen "Add new Medical Device Communicator" øverst til højre i feltet.
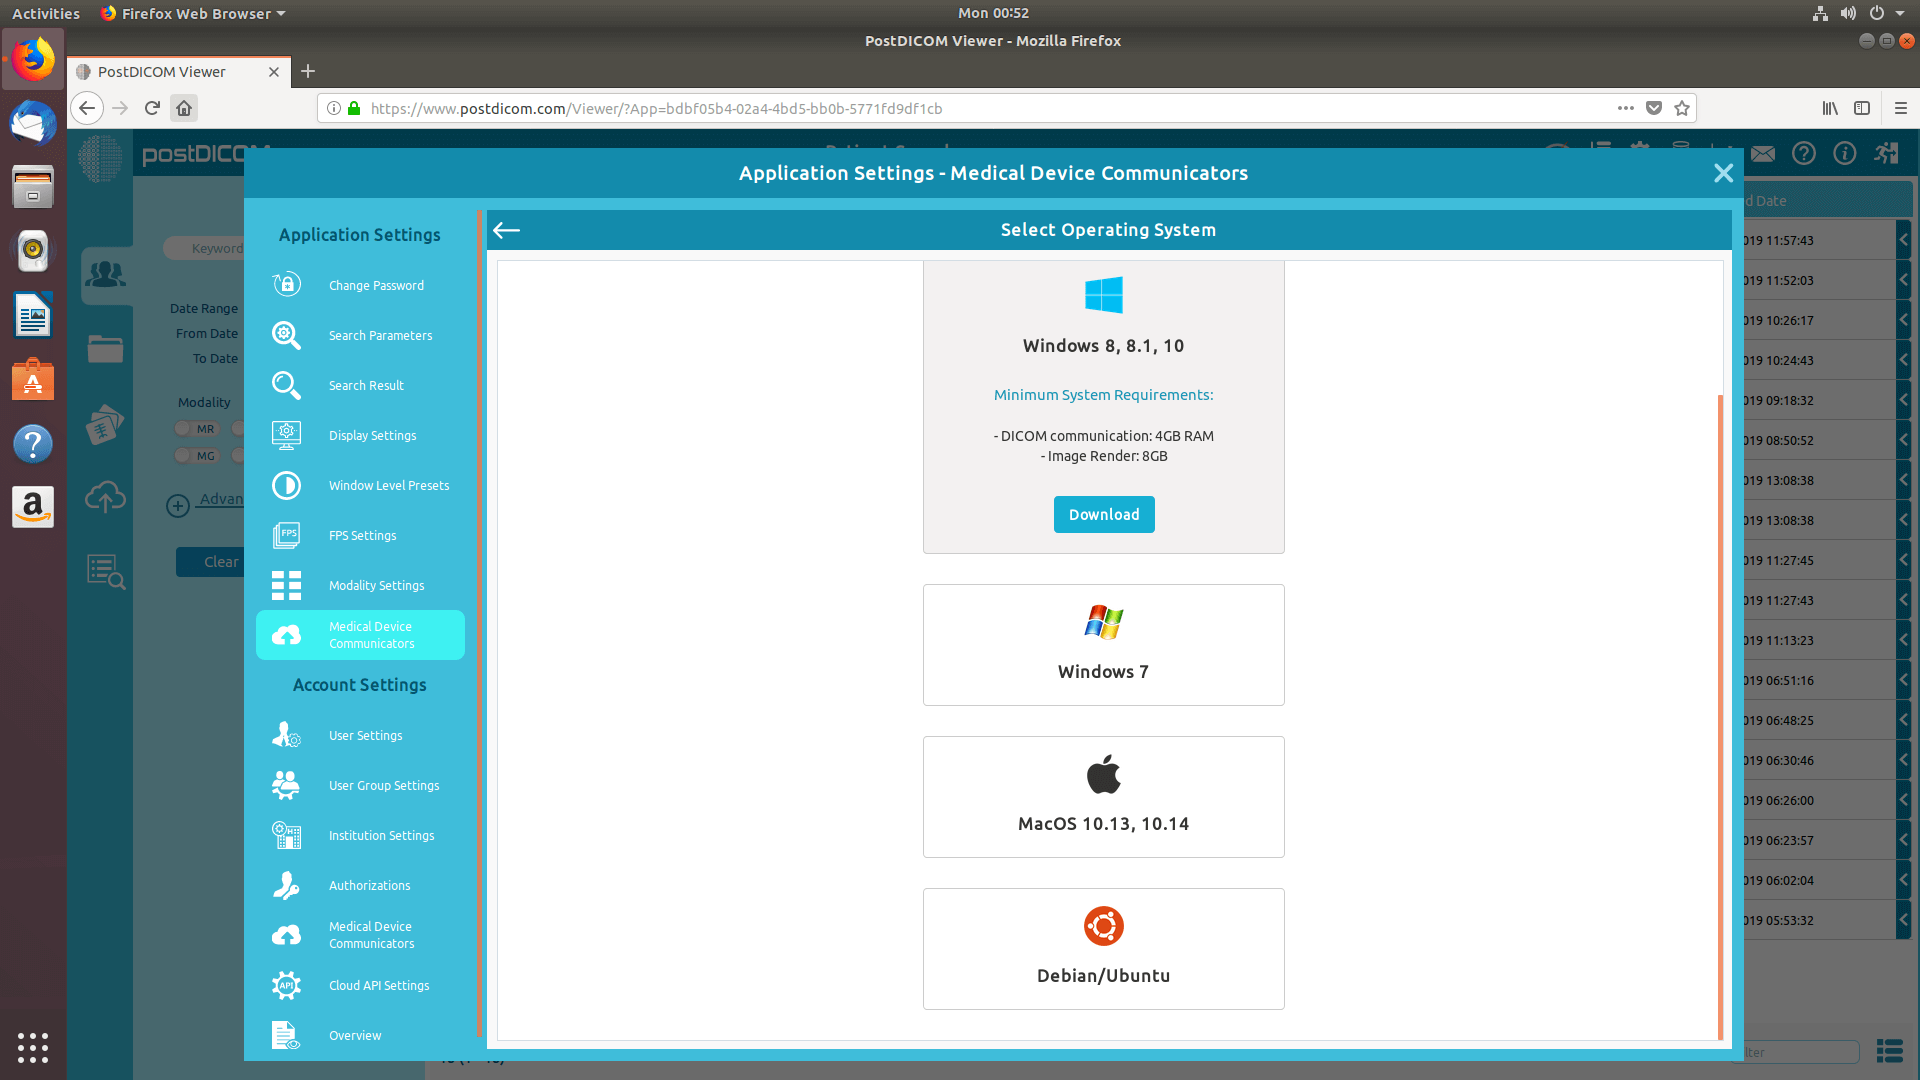
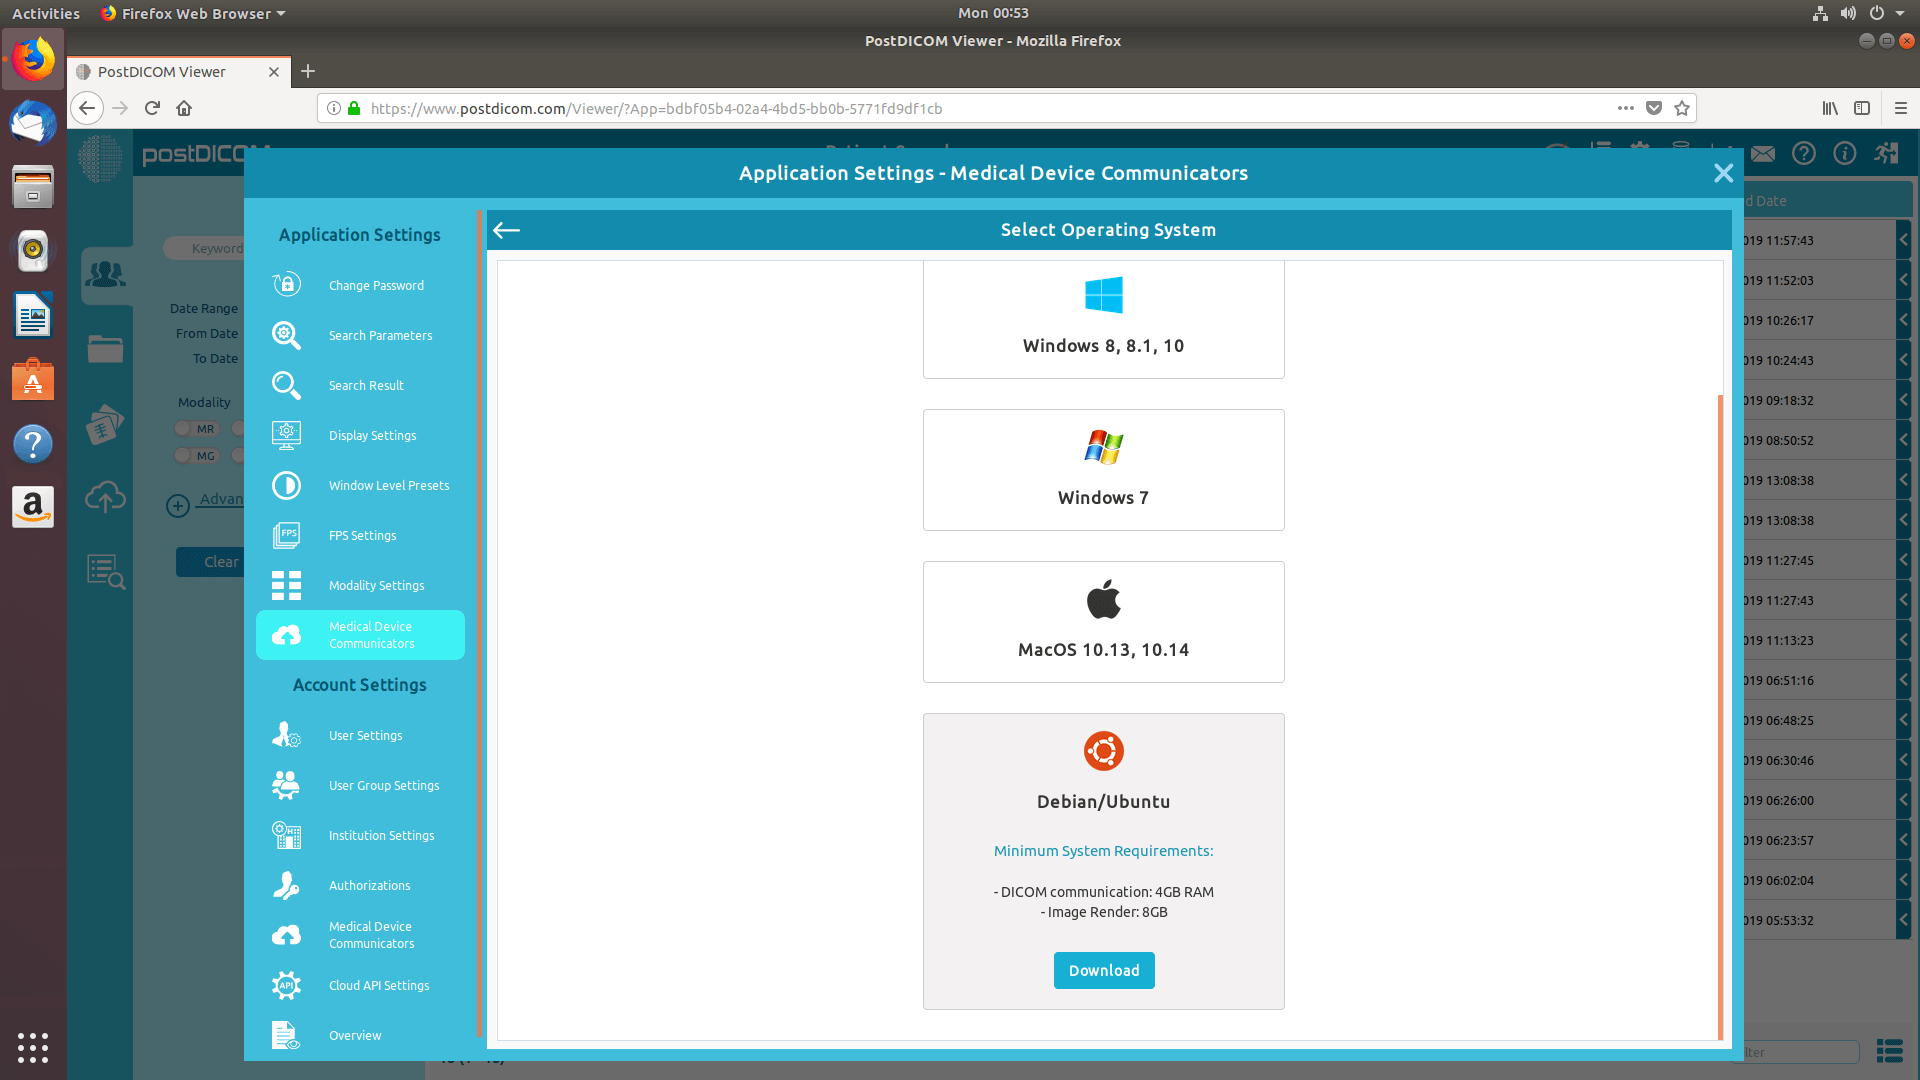
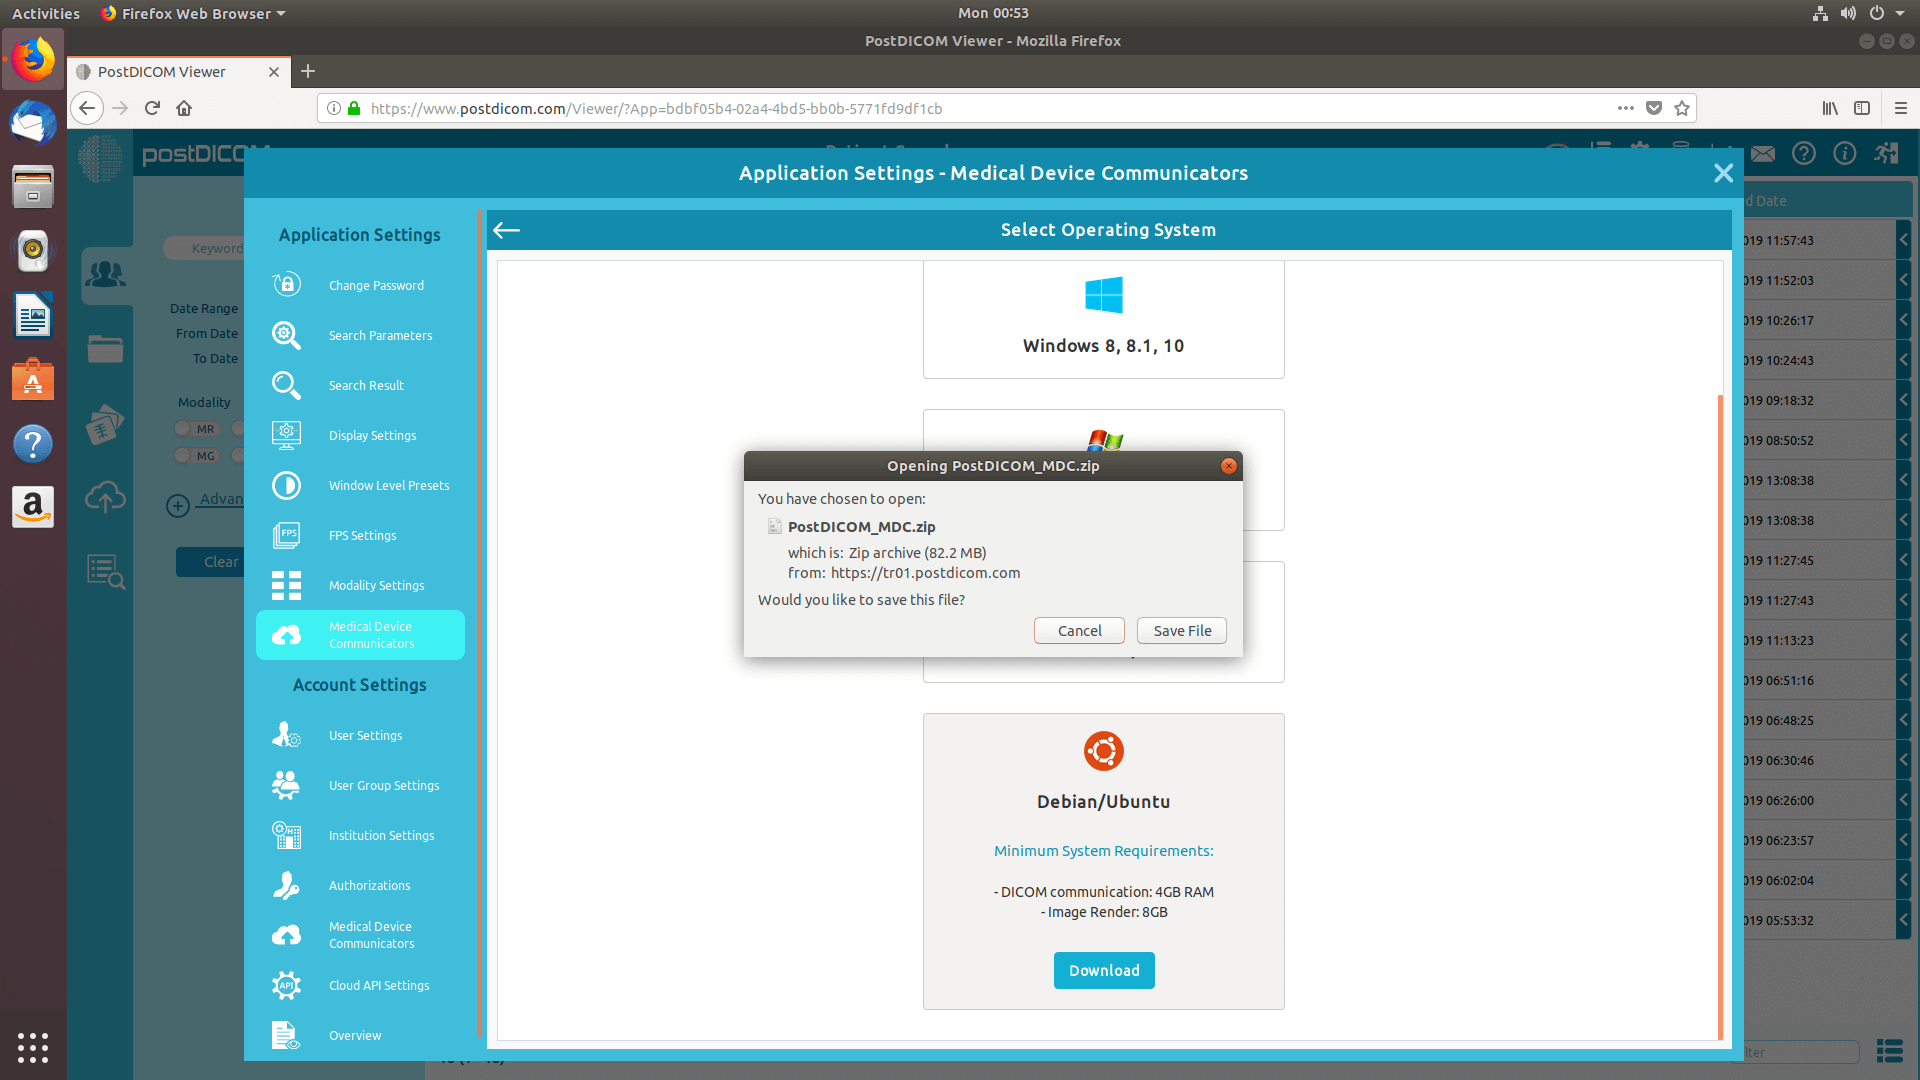
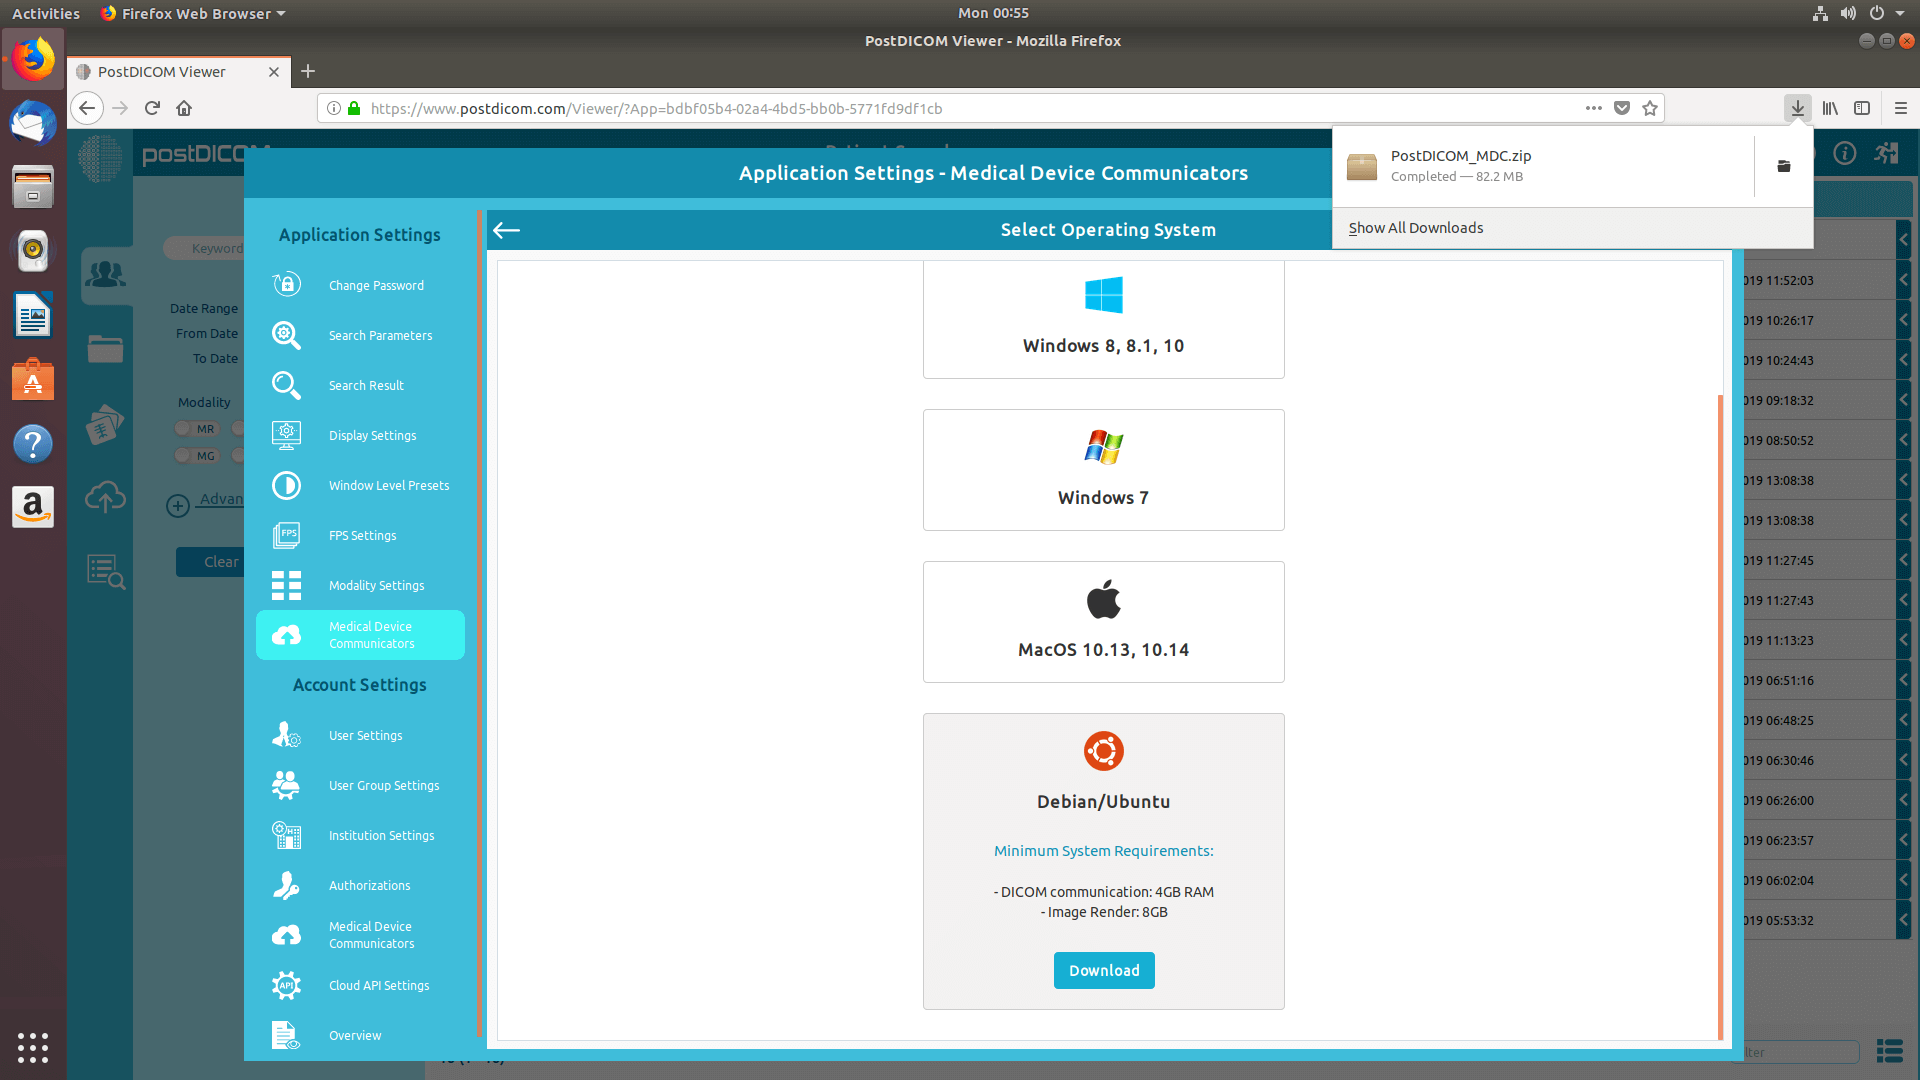
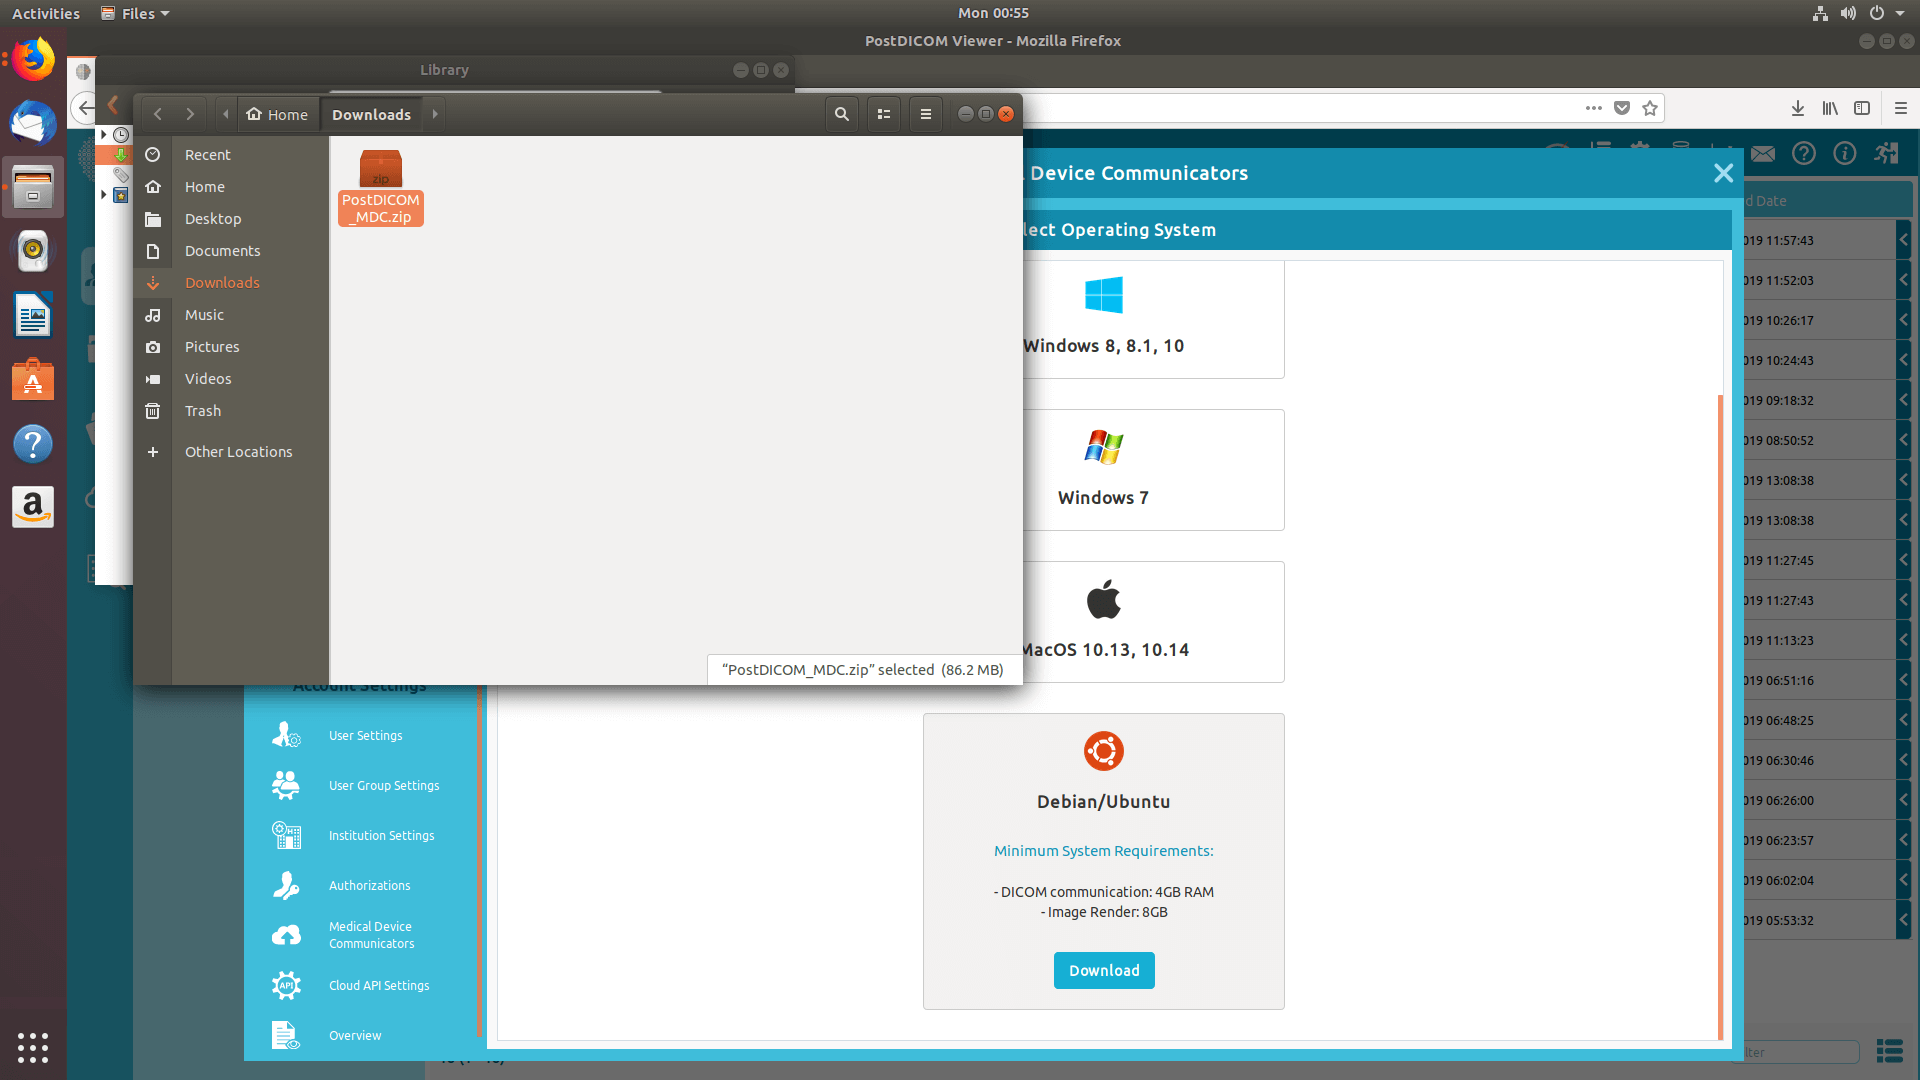
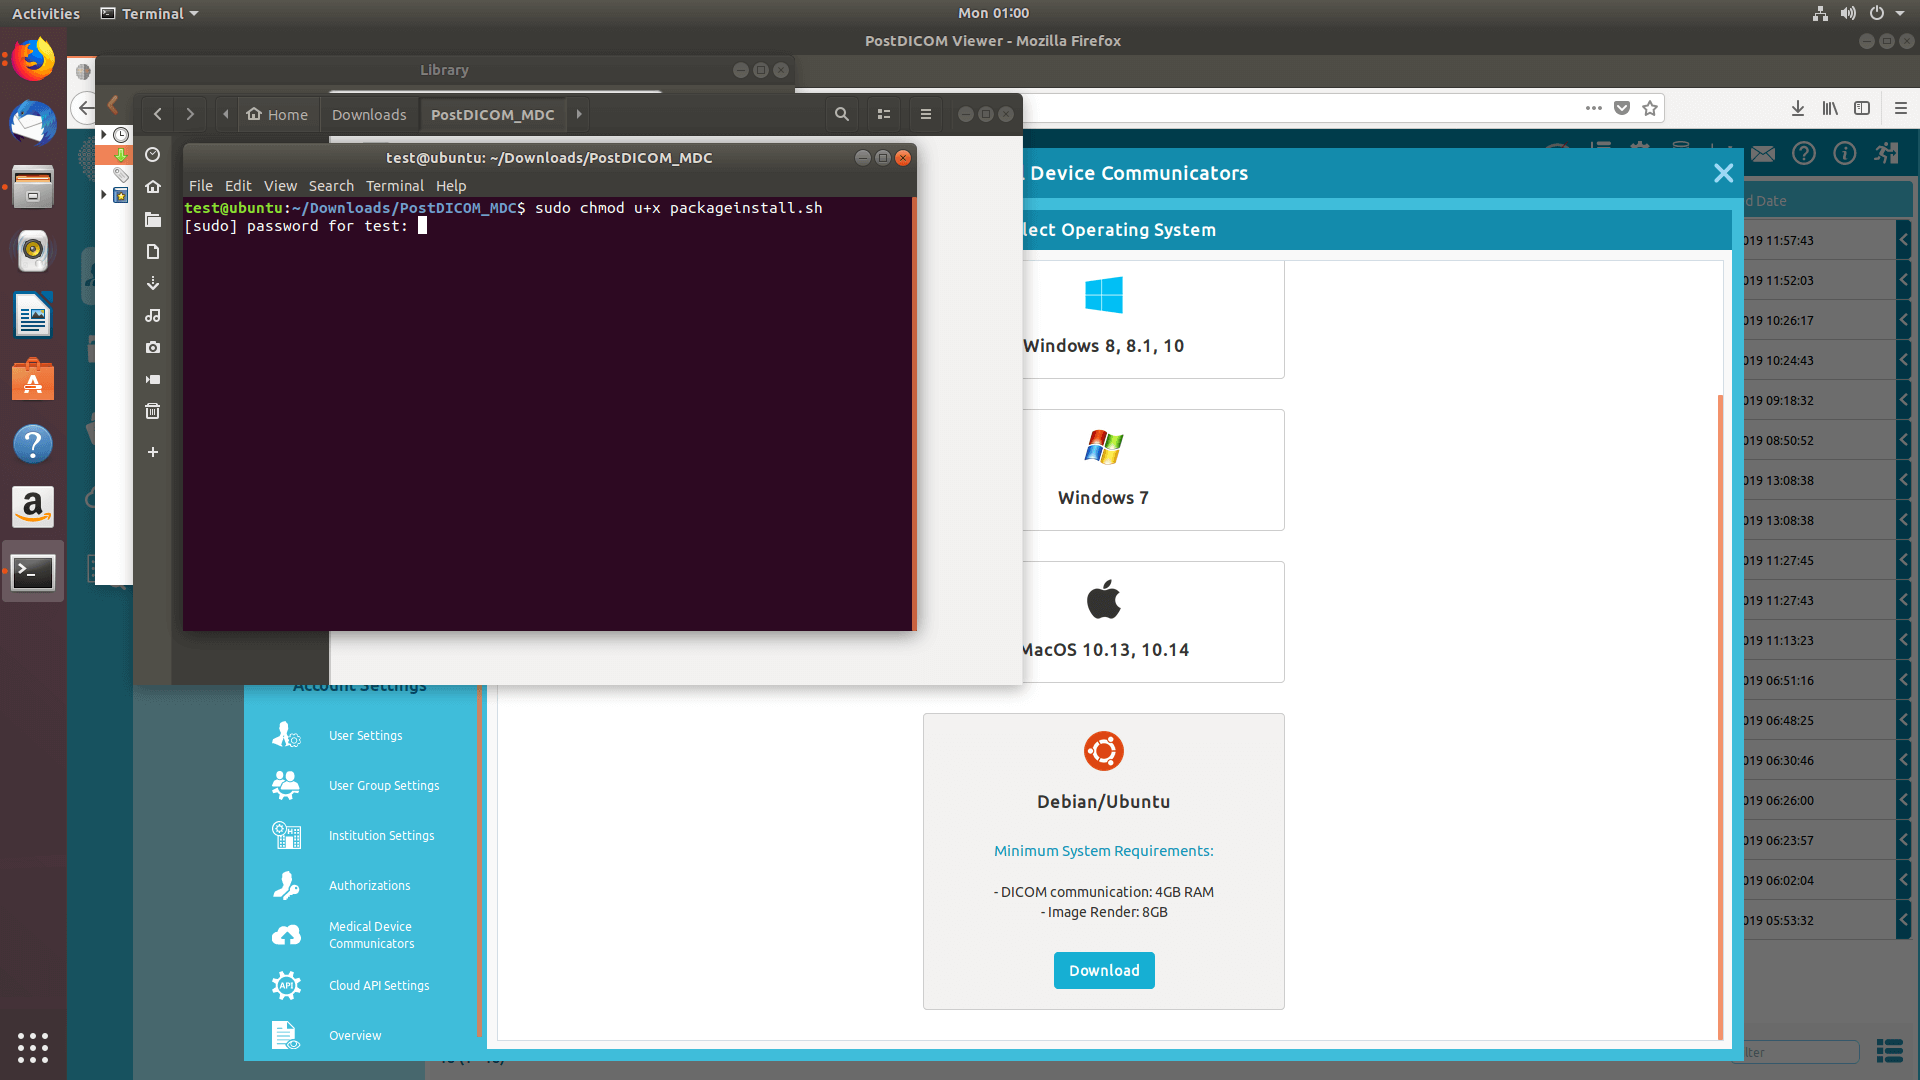
Formularen "Select operating system" (Vælg operativsystem) vises, og understøttede operativsystemer vises på formularen. MeDiC-applikationer kan køre på computere med Microsoft Windows 7, 8, 8.1 eller 10. Desuden kan den køre på Macintosh-computere med Apple MacOS High Sierra eller Mojave. Minimumskravene til det tilsvarende operativsystem kan ses ved at klikke på informationsikonet. Vælg det operativsystem, der er kompatibelt med din computer.
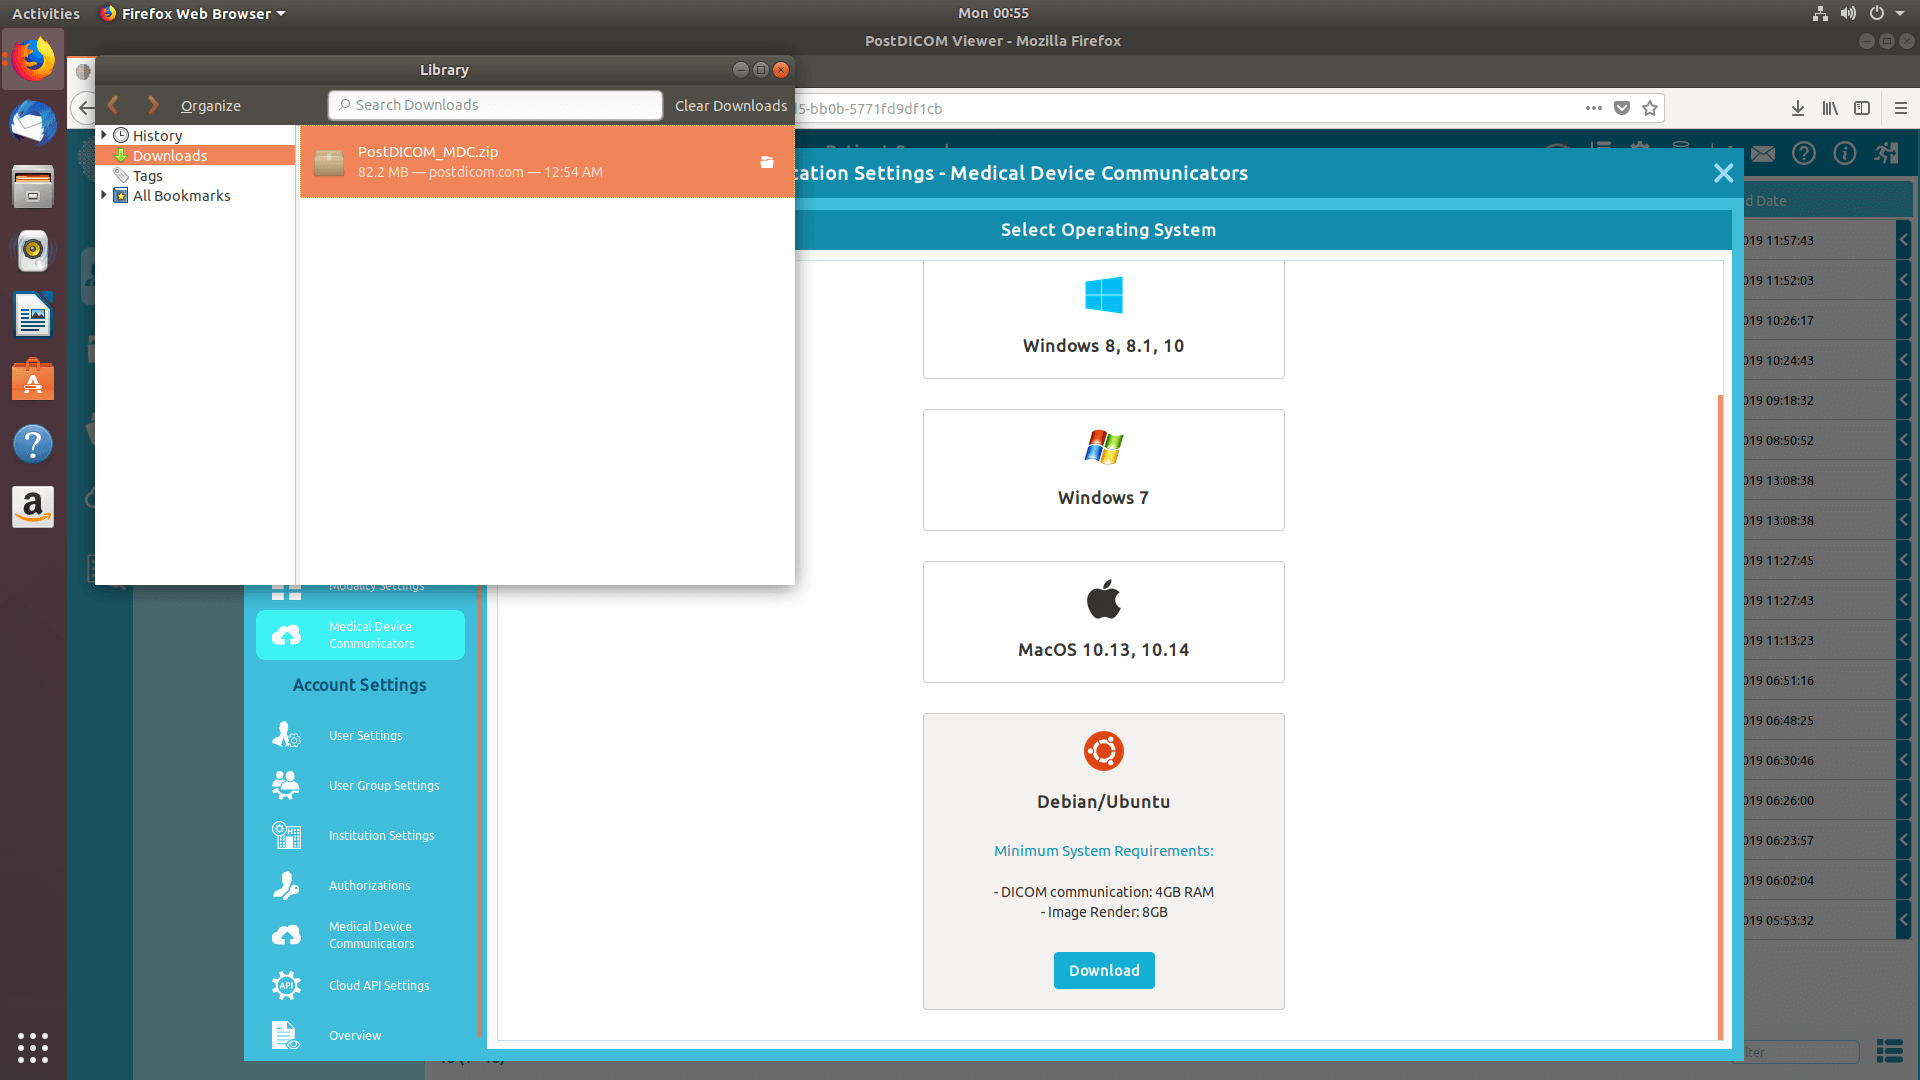
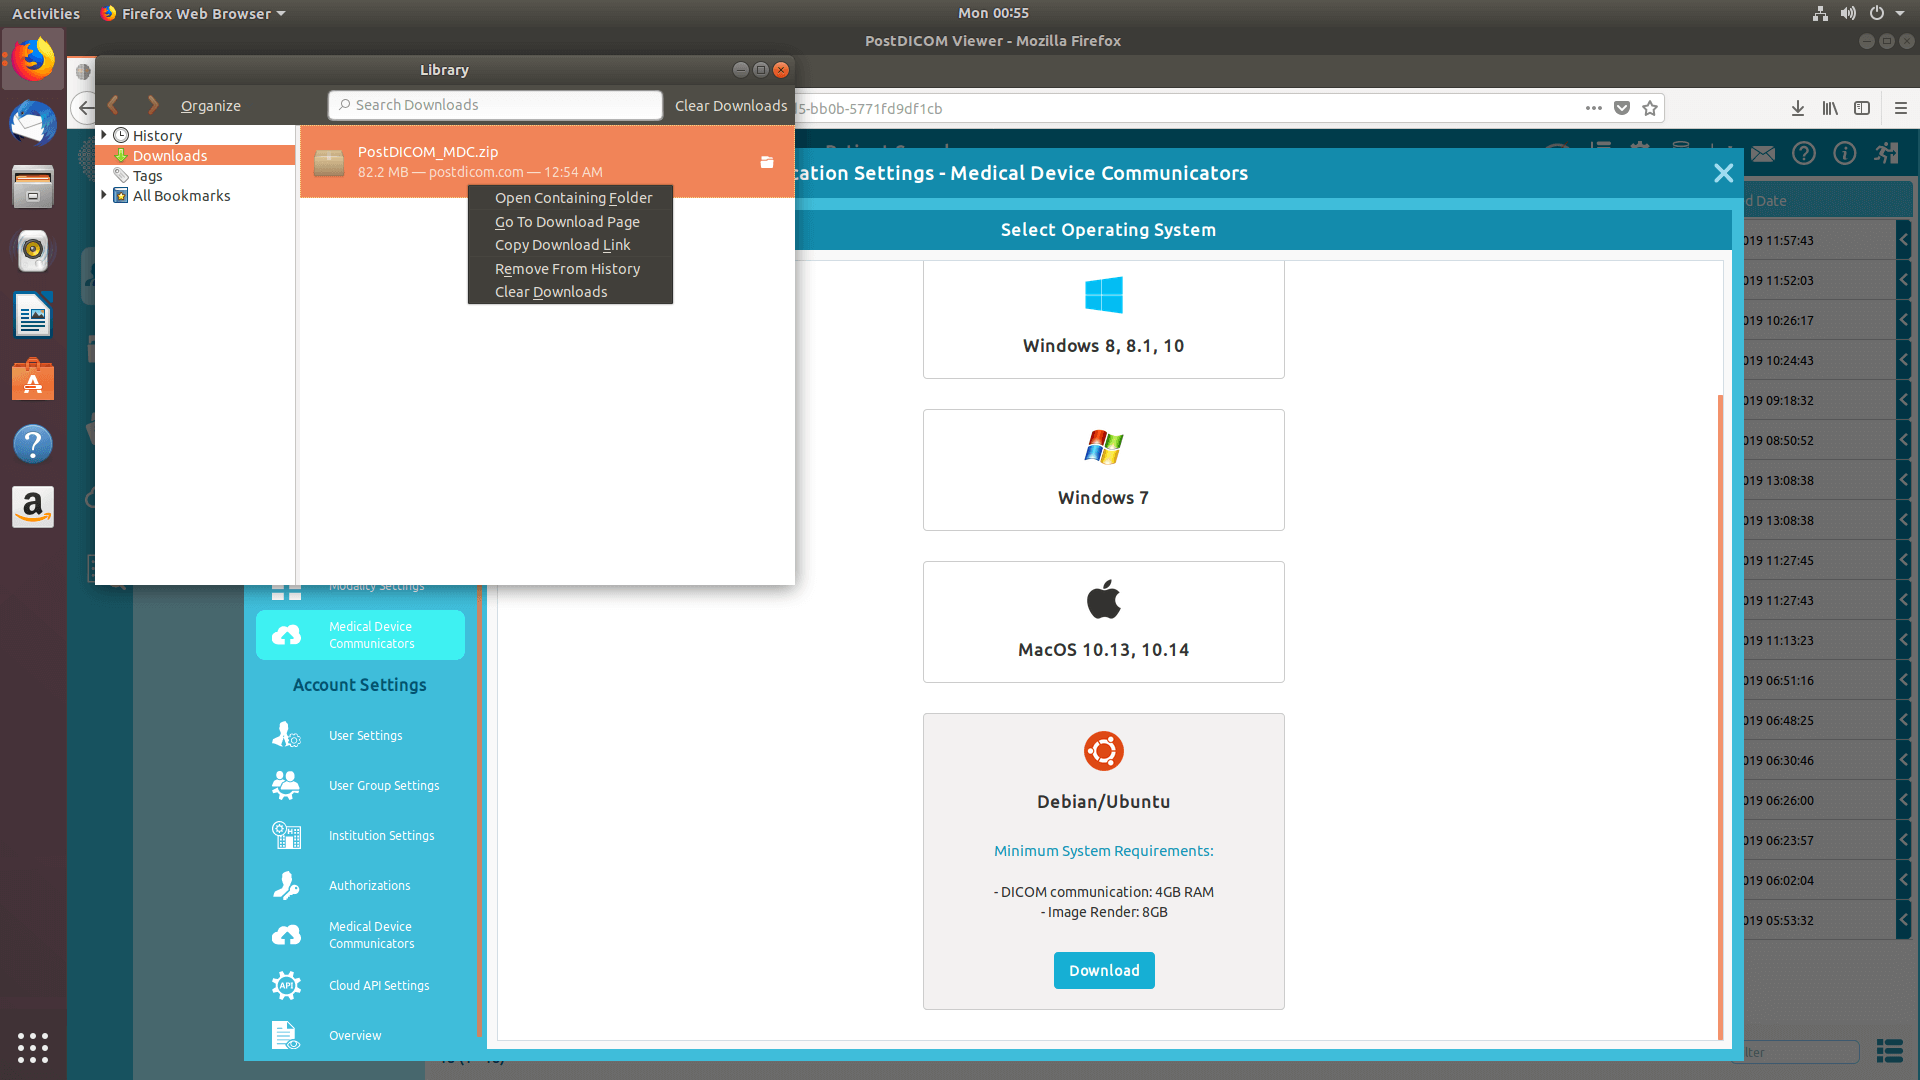
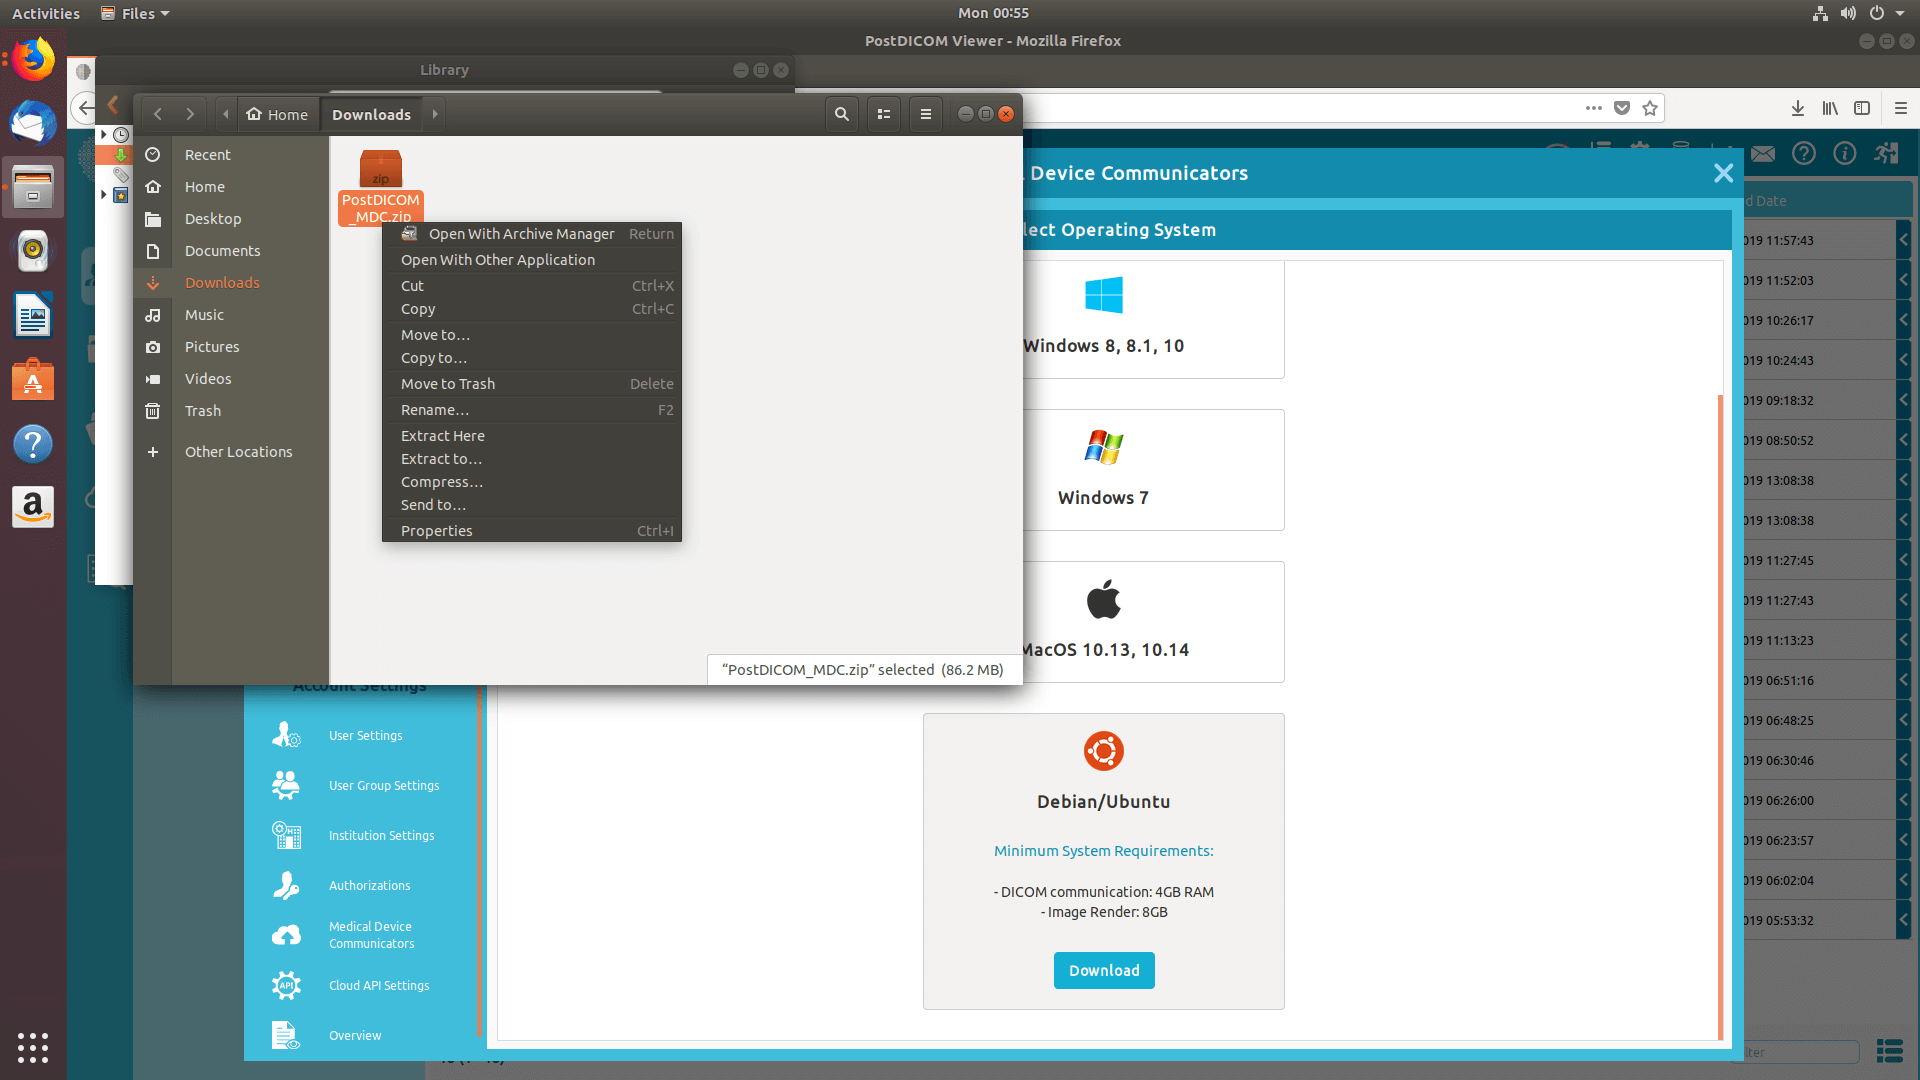
Klik på operativsystemet for at downloade MeDiC-setup til din computer.
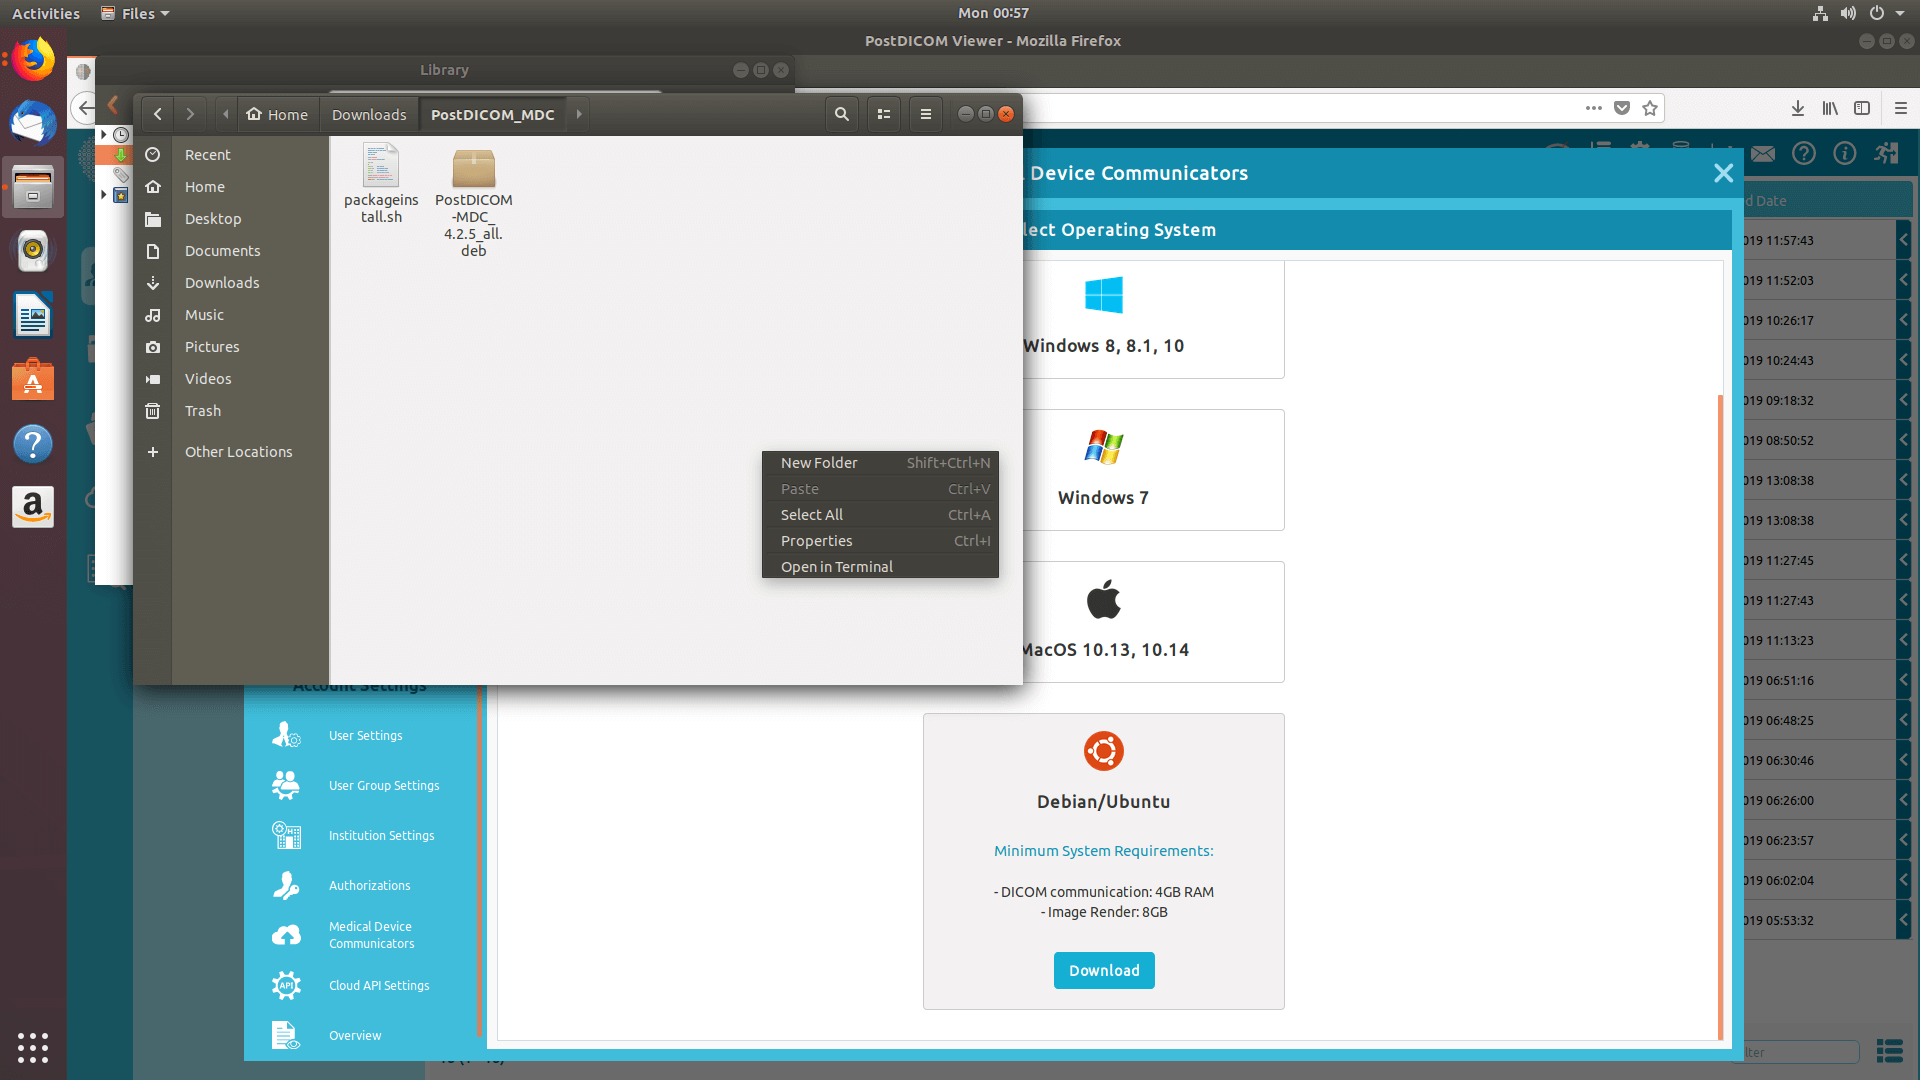
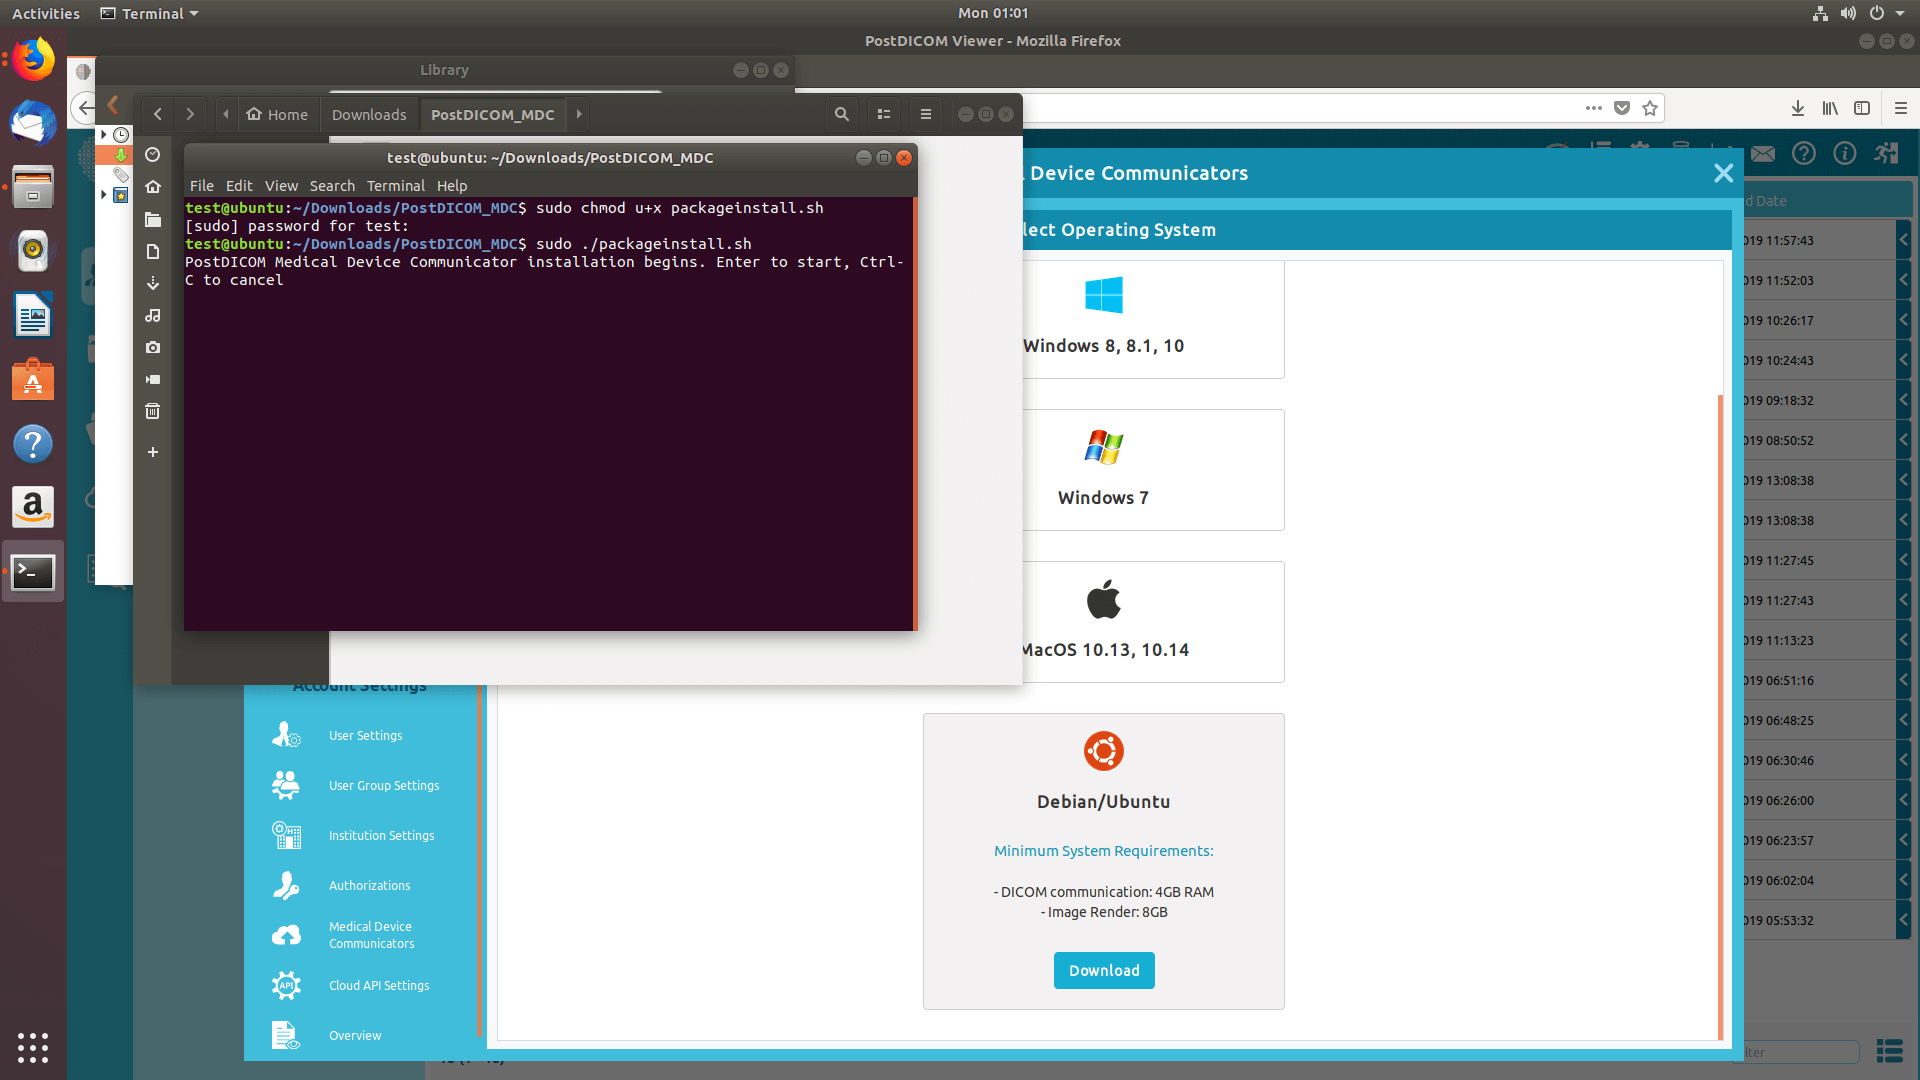
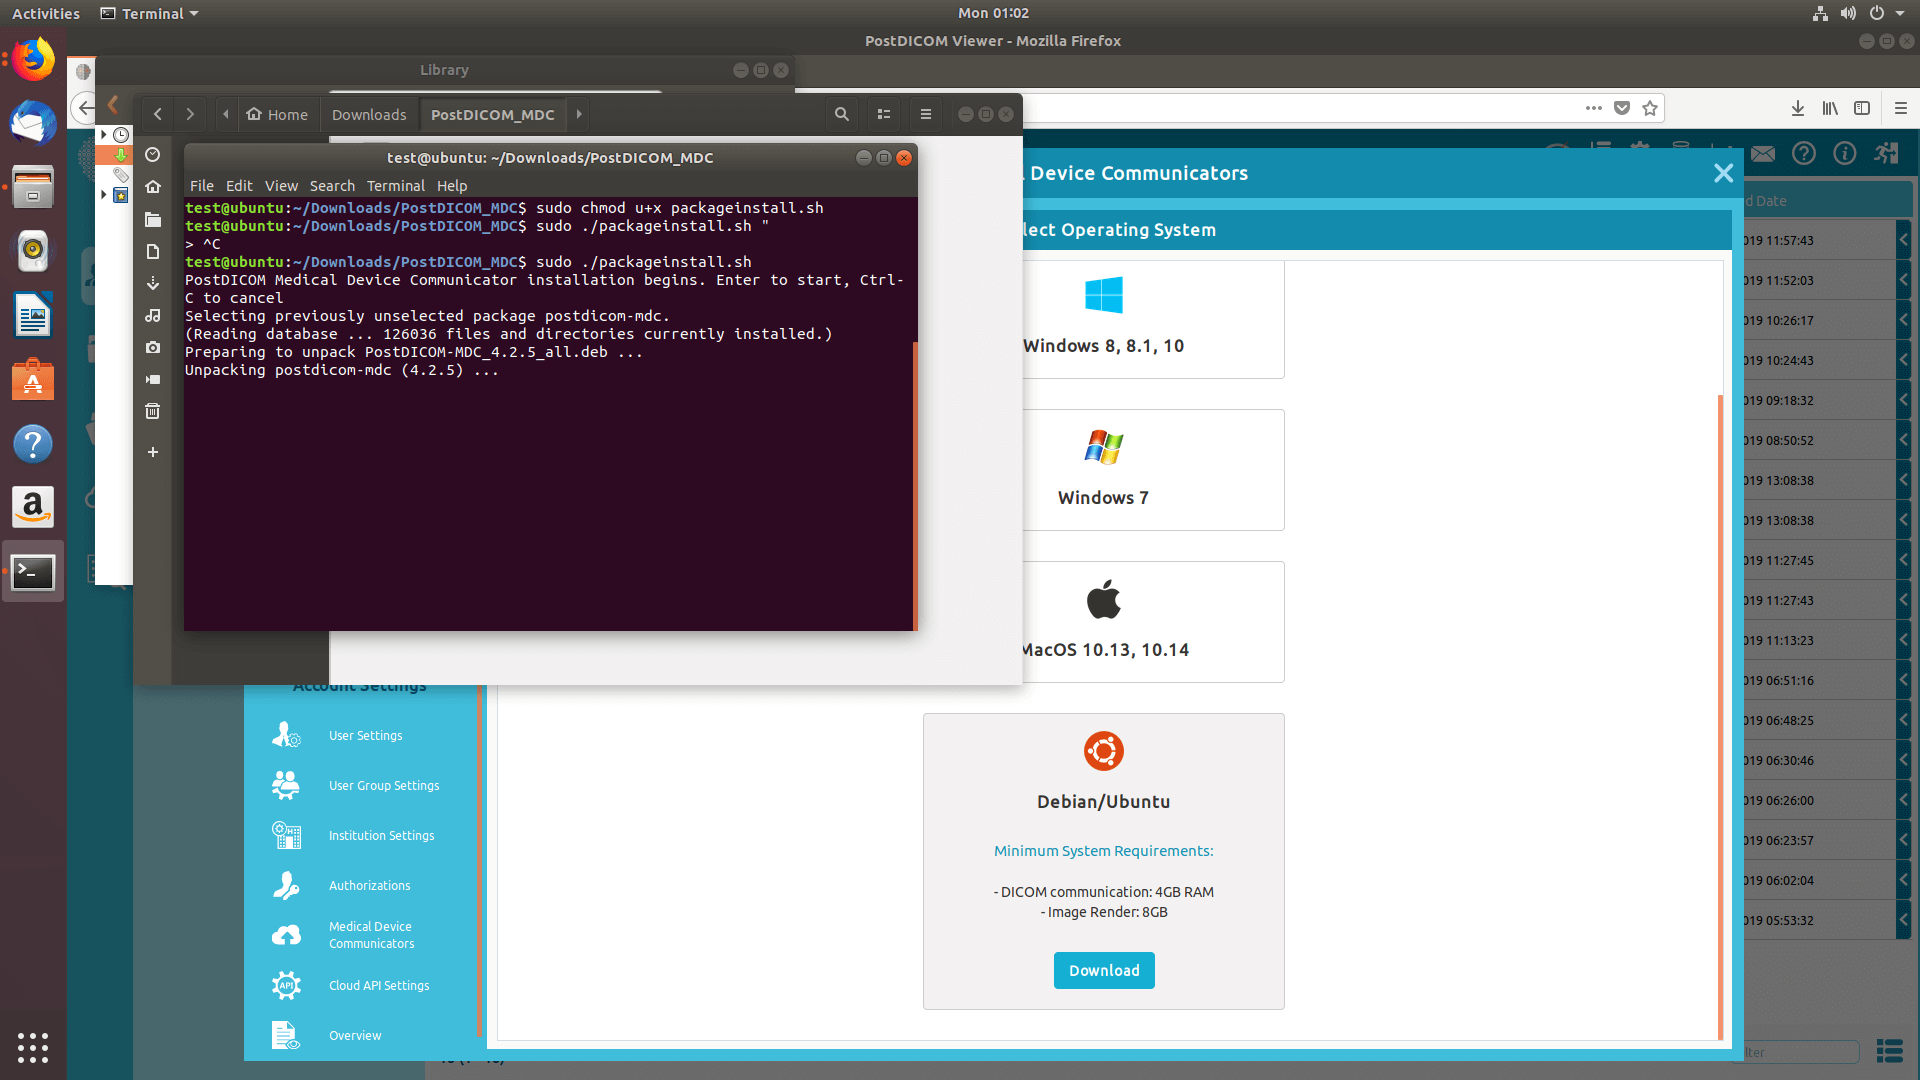
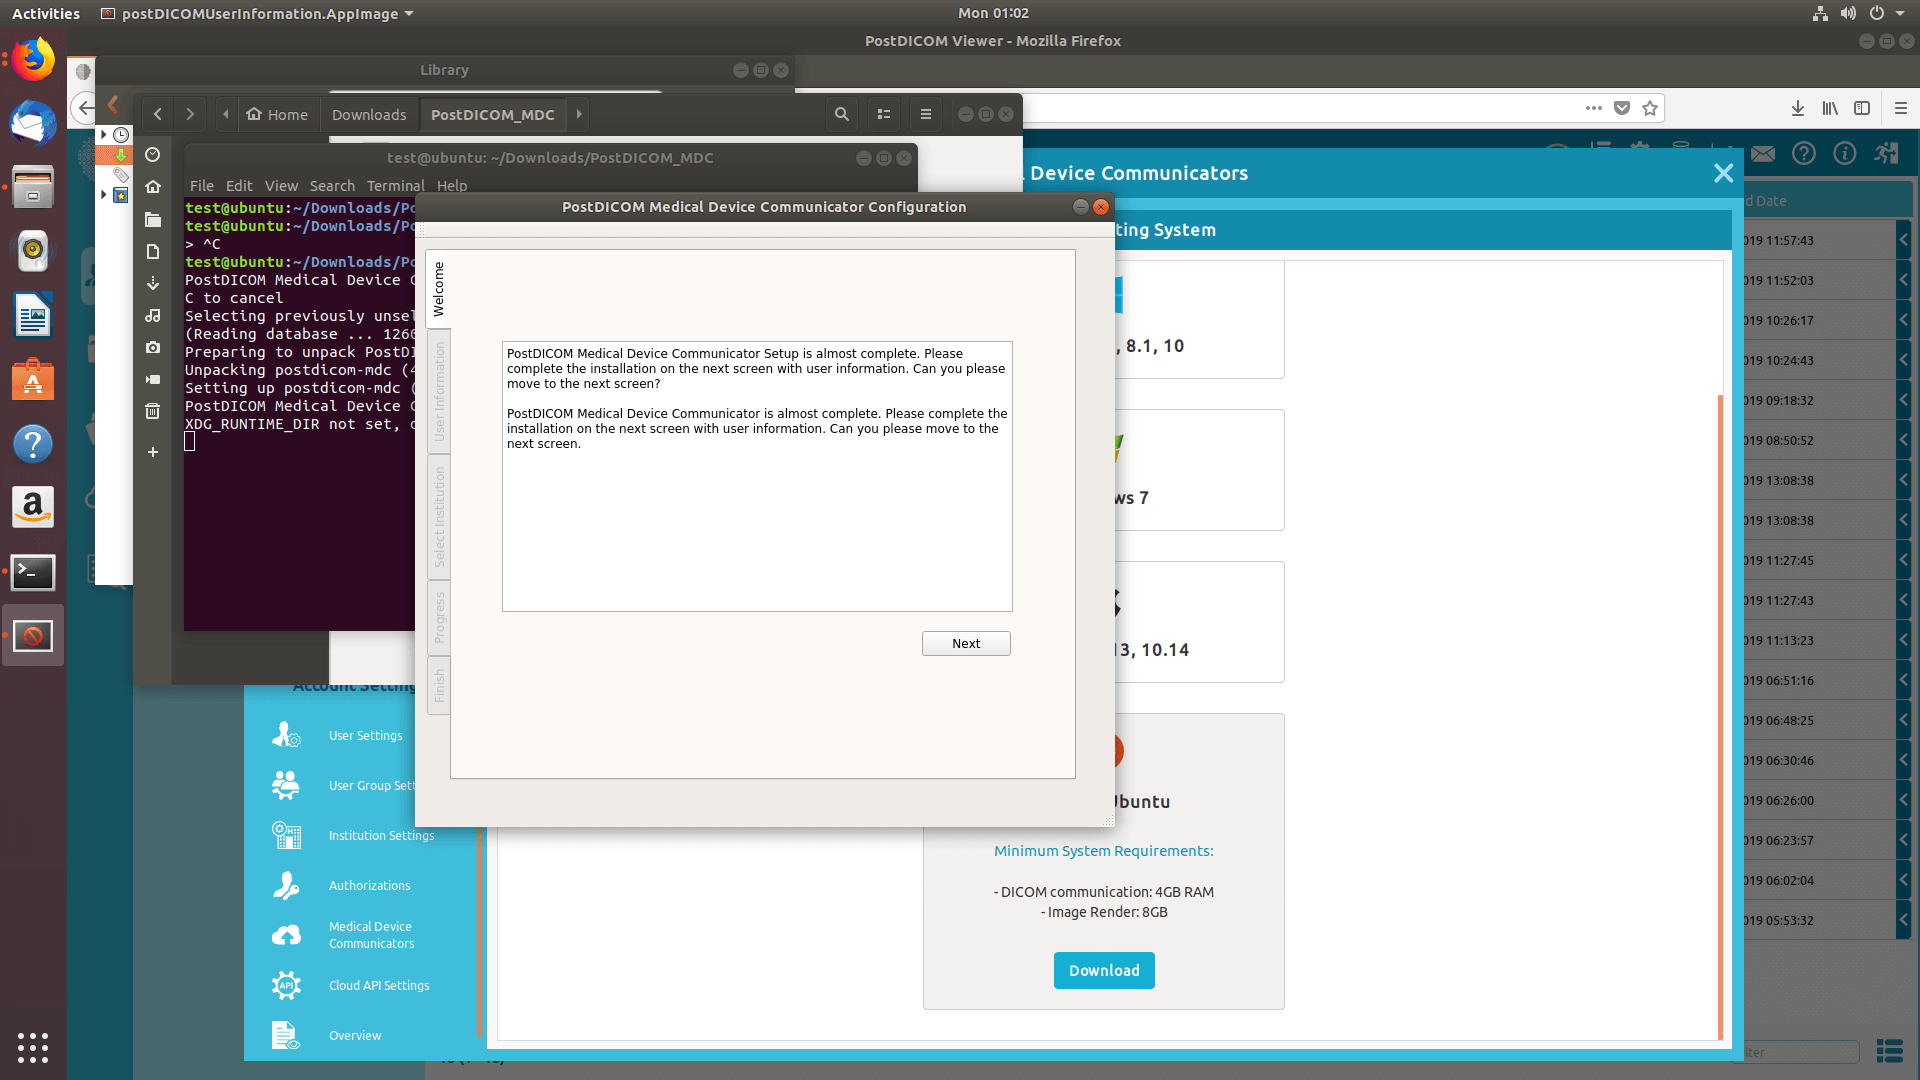
Når installationsfilen er downloadet, skal du klikke på "PostDICOM_MDC.exe" for at køre den. Opsætningssiden for PostDICOM Medical Device Communicator åbnes. Klik på knappen "Next" (Næste).
Siden til valg af destinationsmappe åbnes. Softwaren installeres i standardmappen, der er angivet i tekstområdet. Hvis du vil vælge en anden placering, skal du klikke på knappen "Change". Når installationsmappen er valgt, skal du klikke på knappen "Next".
Du er nu klar til at installere PostDICOM MeDiC på din computer. Klik på knappen "Next" for at fortsætte installationen.
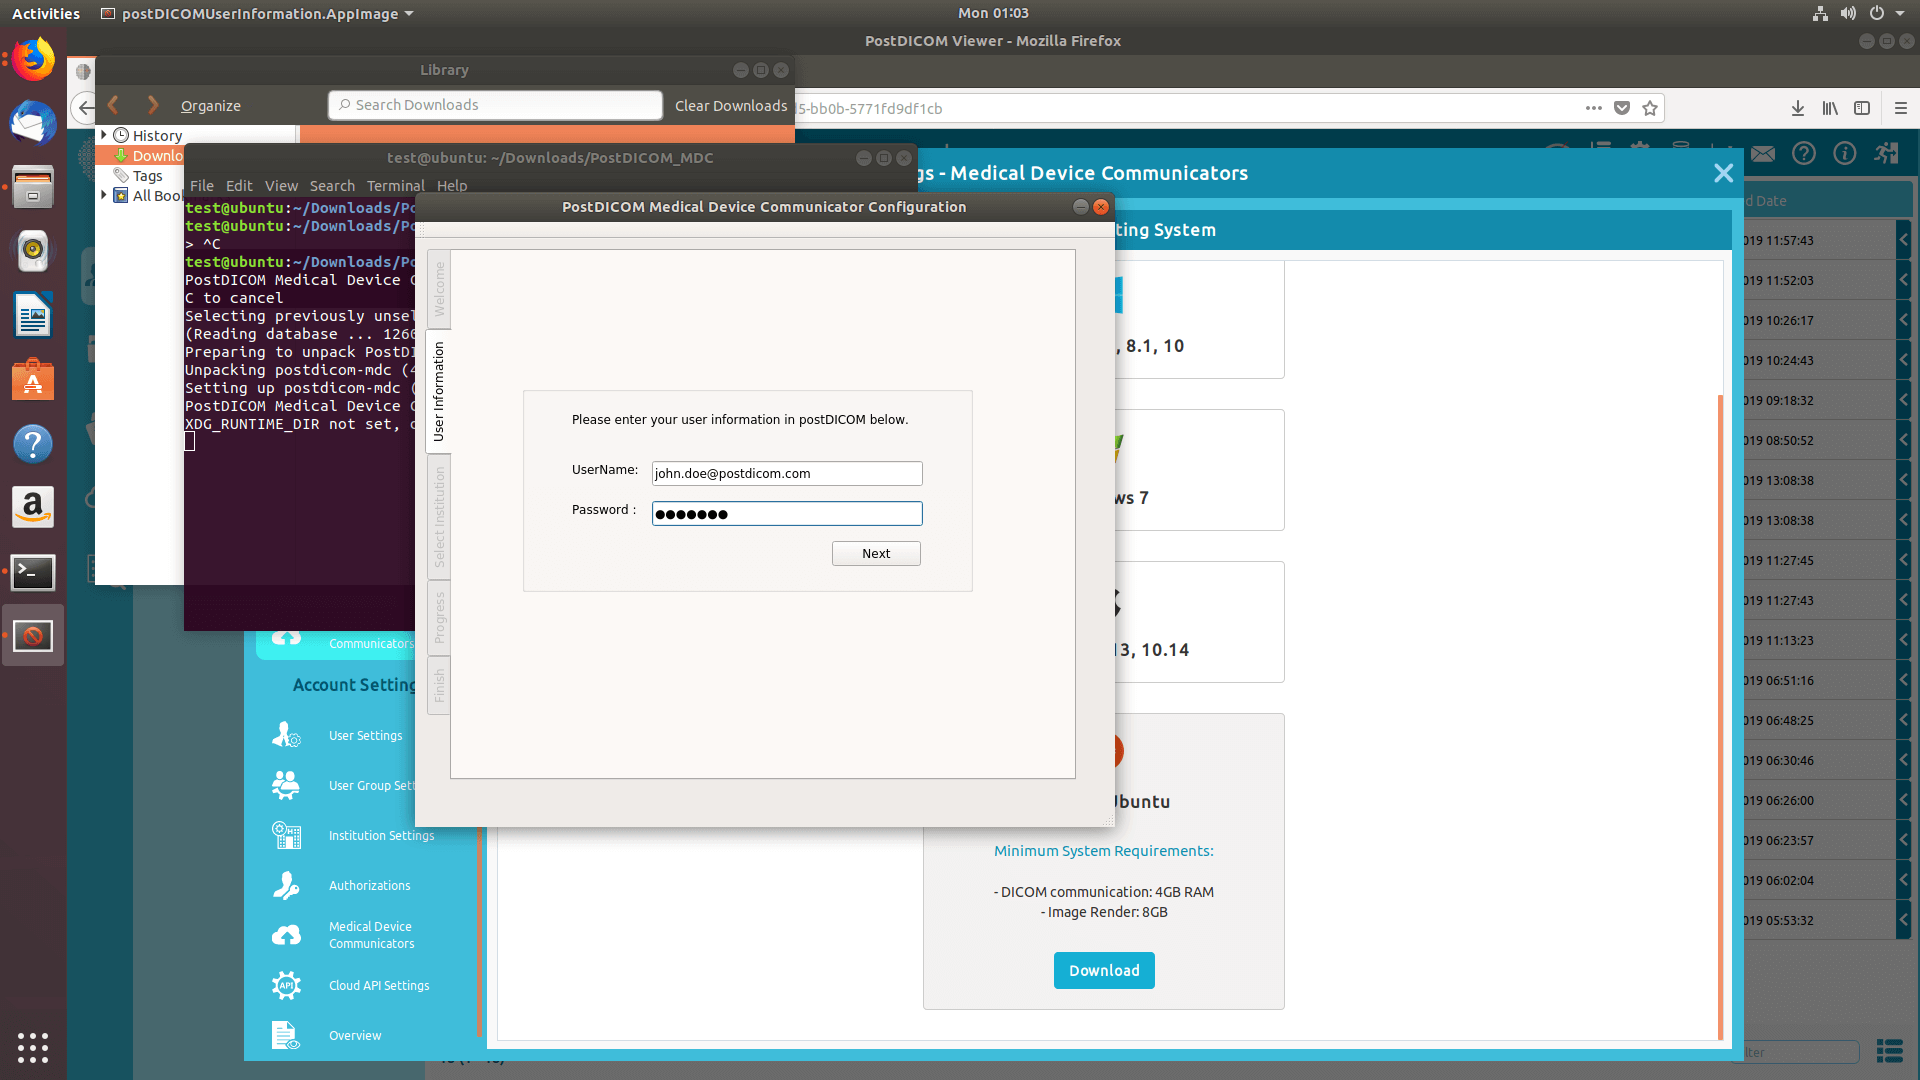
Indtast din PostDICOM e-mailadresse og adgangskode, og klik på knappen "Next".
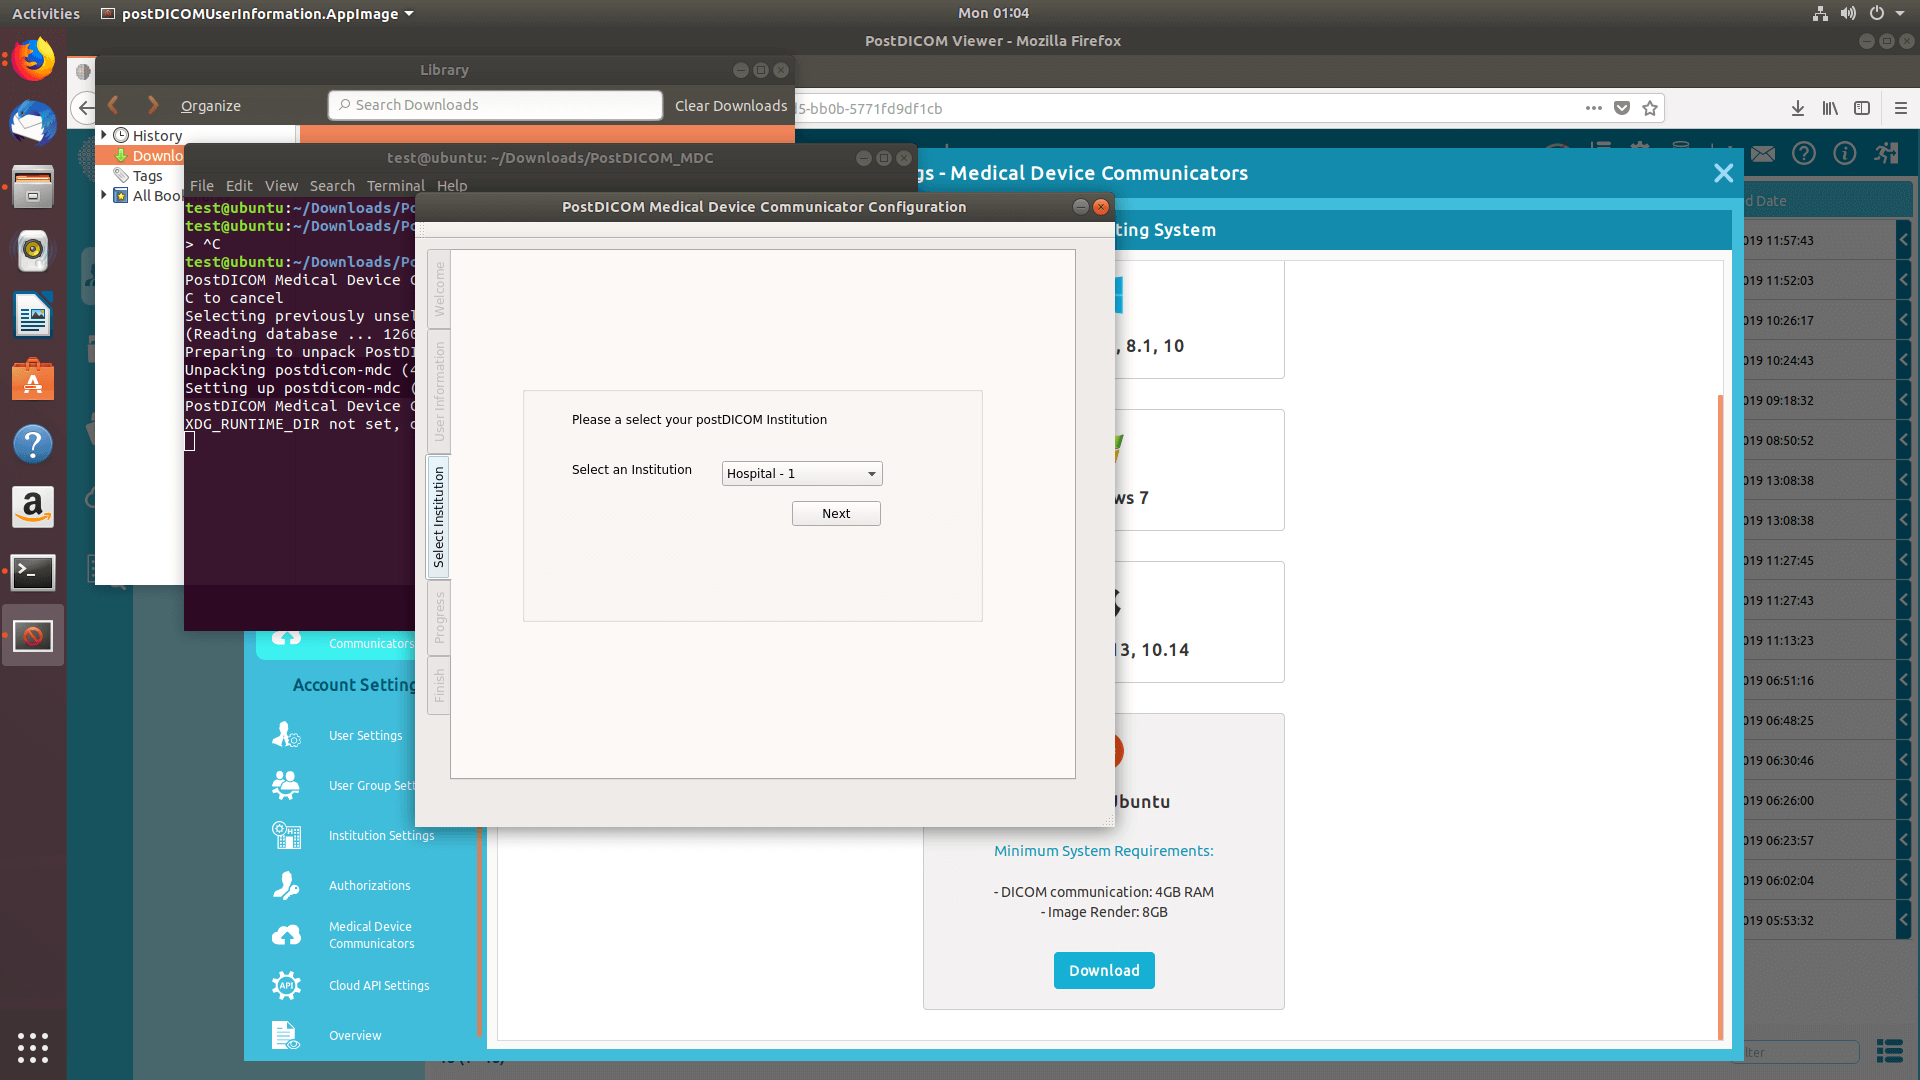
Hvis du har mere end én institution, skal du fortsætte med forsigtighed. Formularen til valg af institution vises, så du kan vælge den aktuelle institution for denne MeDiC. Dette trin er meget vigtigt. Fordi hver MeDiC-applikation kun kan fungere for én institution. Når du sender dine DICOM-filer til denne MeDiC, gemmes hver fil, der modtages af denne MeDiC, kun i den valgte institution. Når den korrekte institution er valgt, skal du klikke på knappen "Next" for at fortsætte.
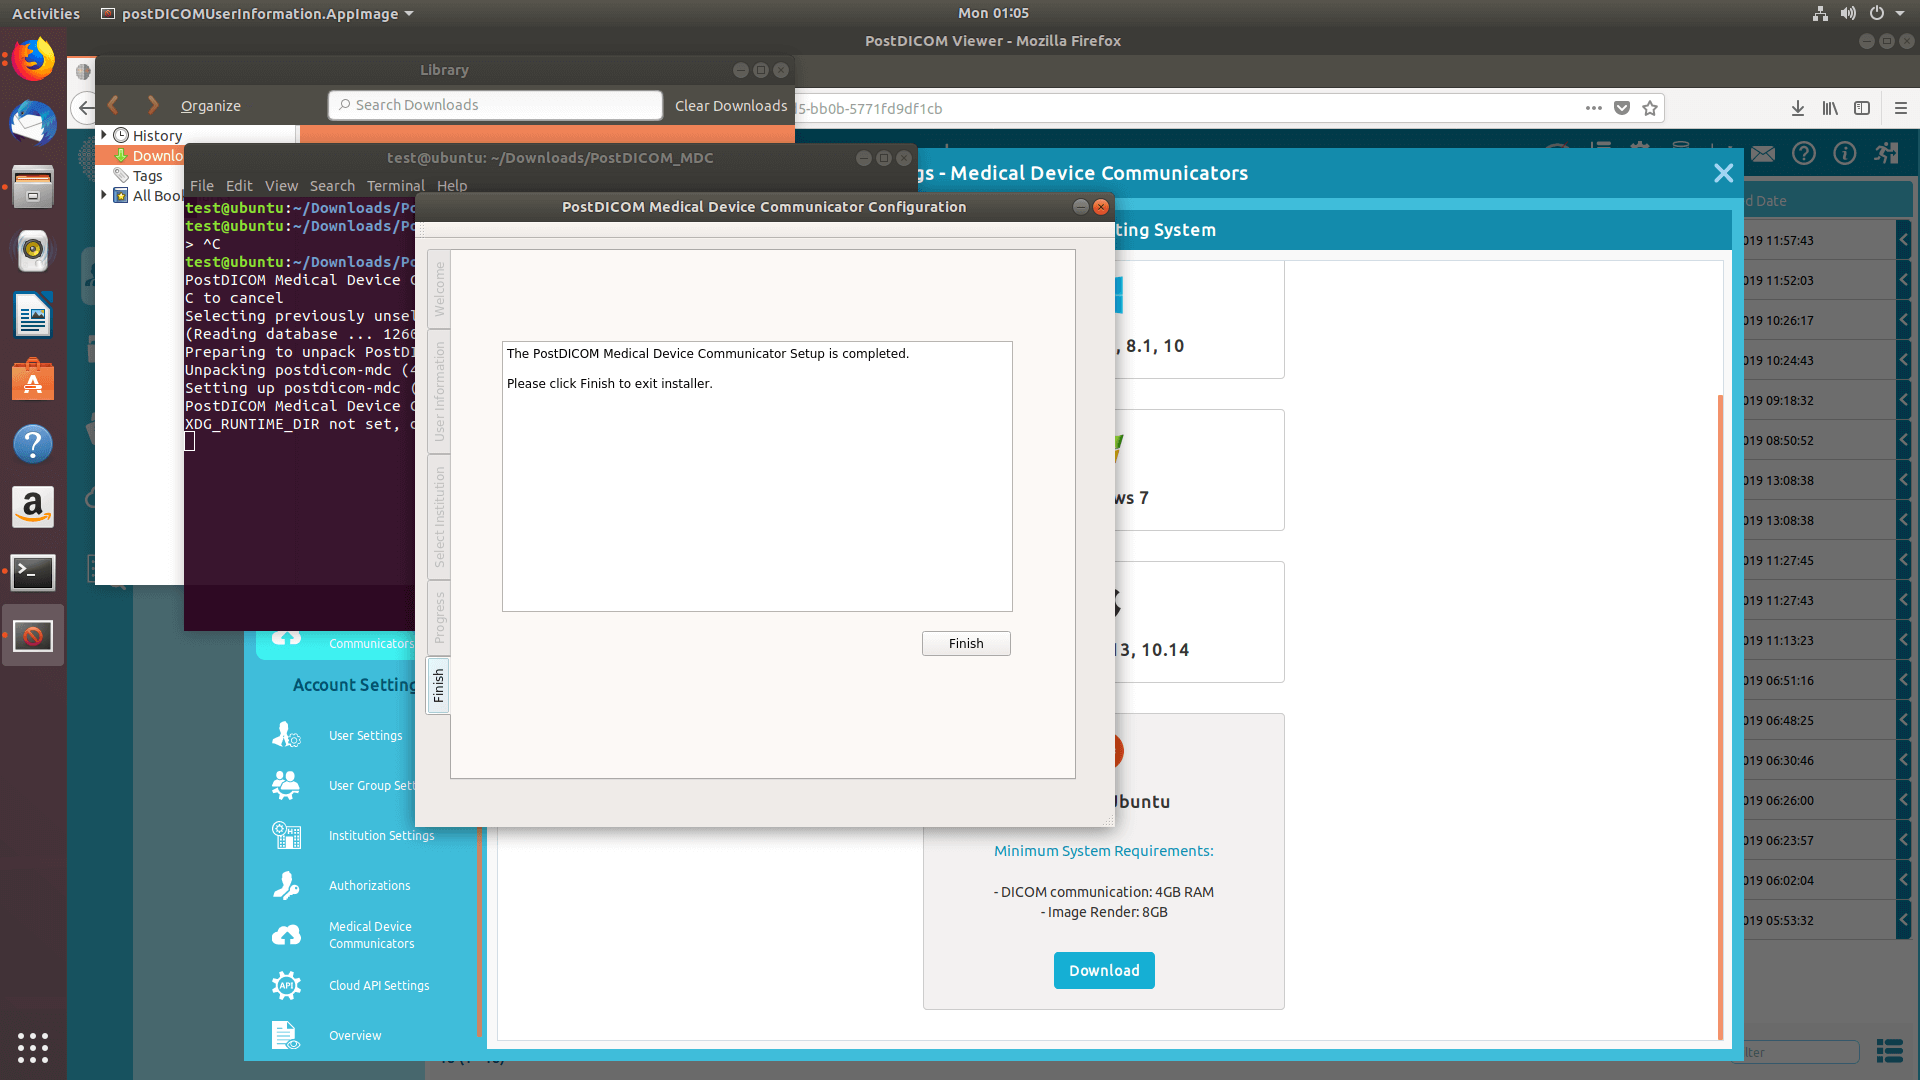
Om få sekunder vil MeDiC-installationen være fuldført. Når den er færdig, skal du klikke på knappen "Finish" for at lukke installationsprogrammet.
Når installationen er færdig, skal du klikke på knappen "Back" for at få vist dine MeDiC-applikationer.
Du vil se den nyligt installerede MeDiC på listen over Medical Device Communicators med navn, oprettelsestidspunkt, operativsystem, IP og statusoplysninger. Hvis du ikke kan se din MeDiC-applikation, skal du klikke på knappen "Refresh" for at opdatere listen over MeDiC-applikationer.
Næste billede.
Næste billede.
Næste billede.
Næste billede.
Næste billede.
Næste billede.
Næste billede.
Næste billede.
Næste billede.
Næste billede.
Næste billede.
Næste billede.